Configuring with AD FS - Local AD
From the AD FS management screen, click Add Relying Party Trust… from the sidebar.
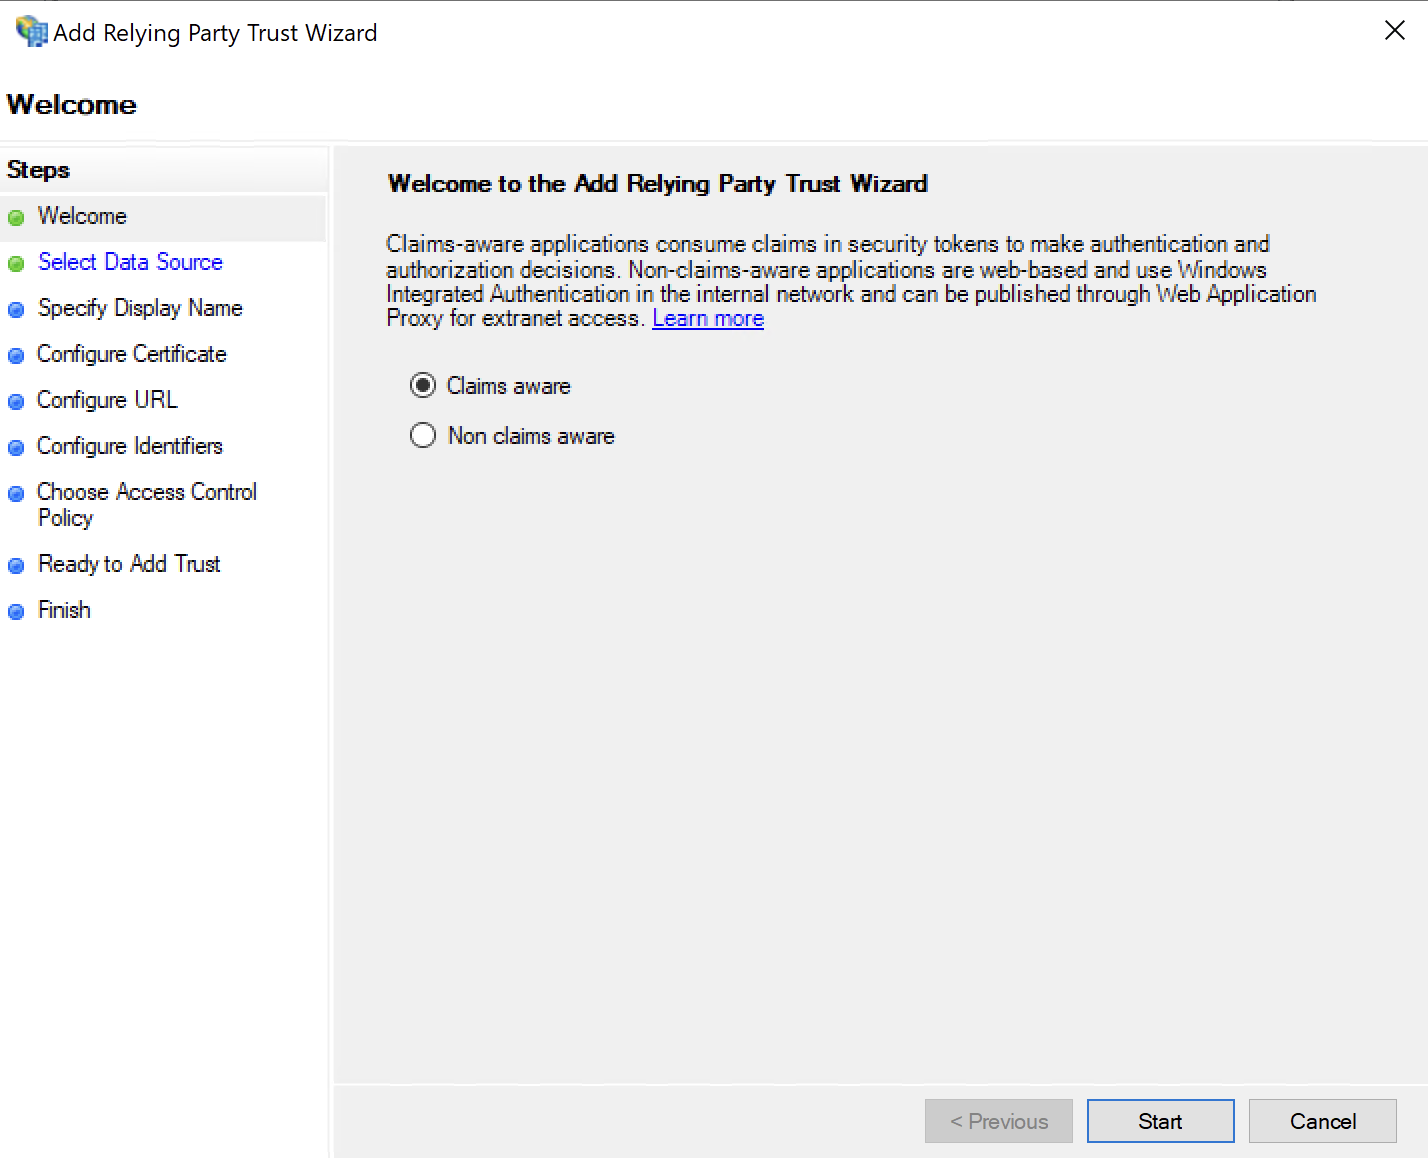
This will open a wizard:
Leave thes selection at “Claims aware”.
Click Start
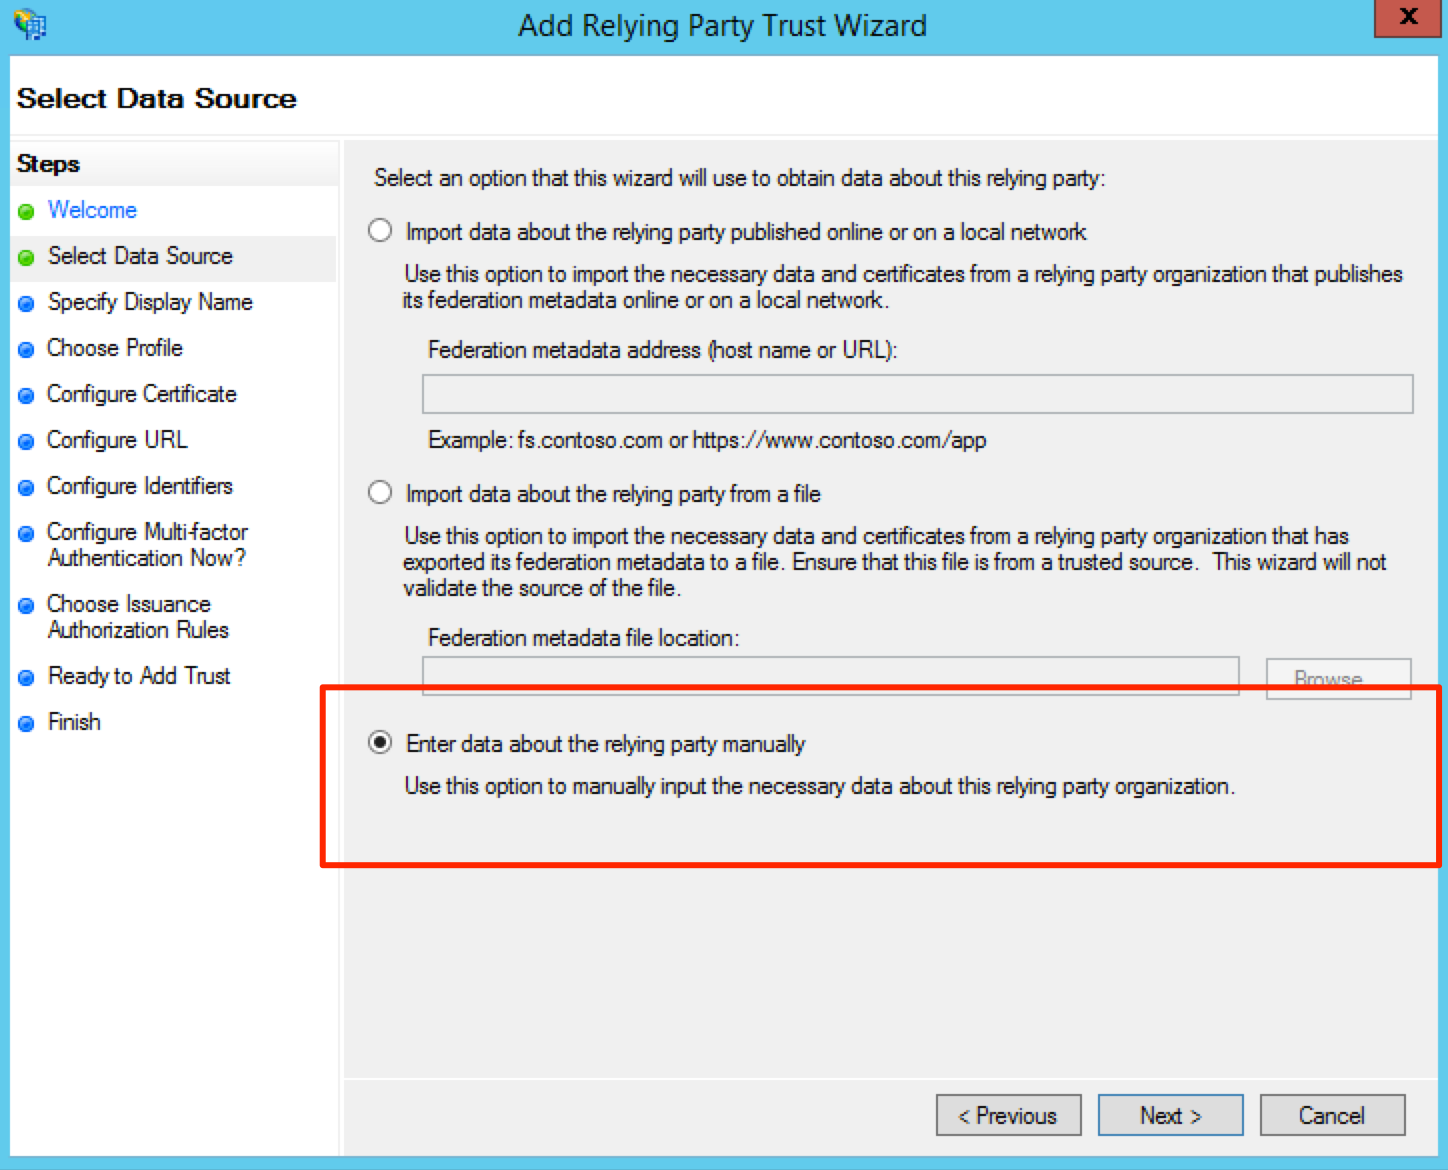
Click the radio button Enter data about the relying party manually and click Next
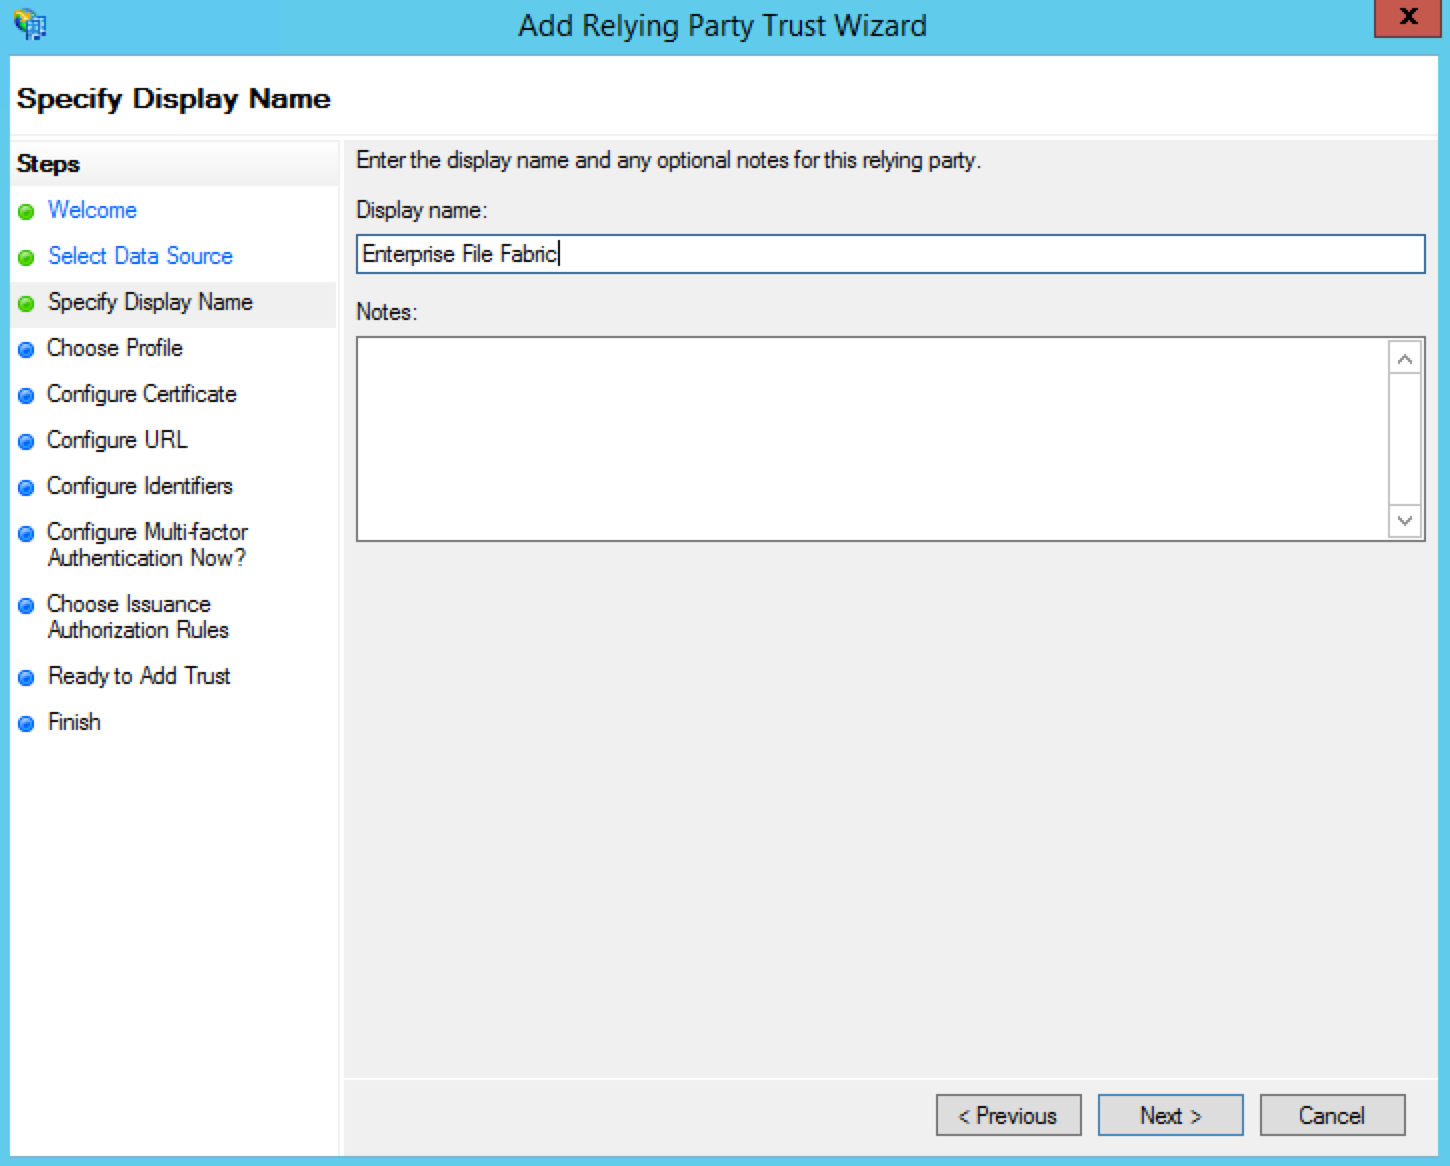
Enter an appropriate Display name so that you can recognise it in the future and click Next
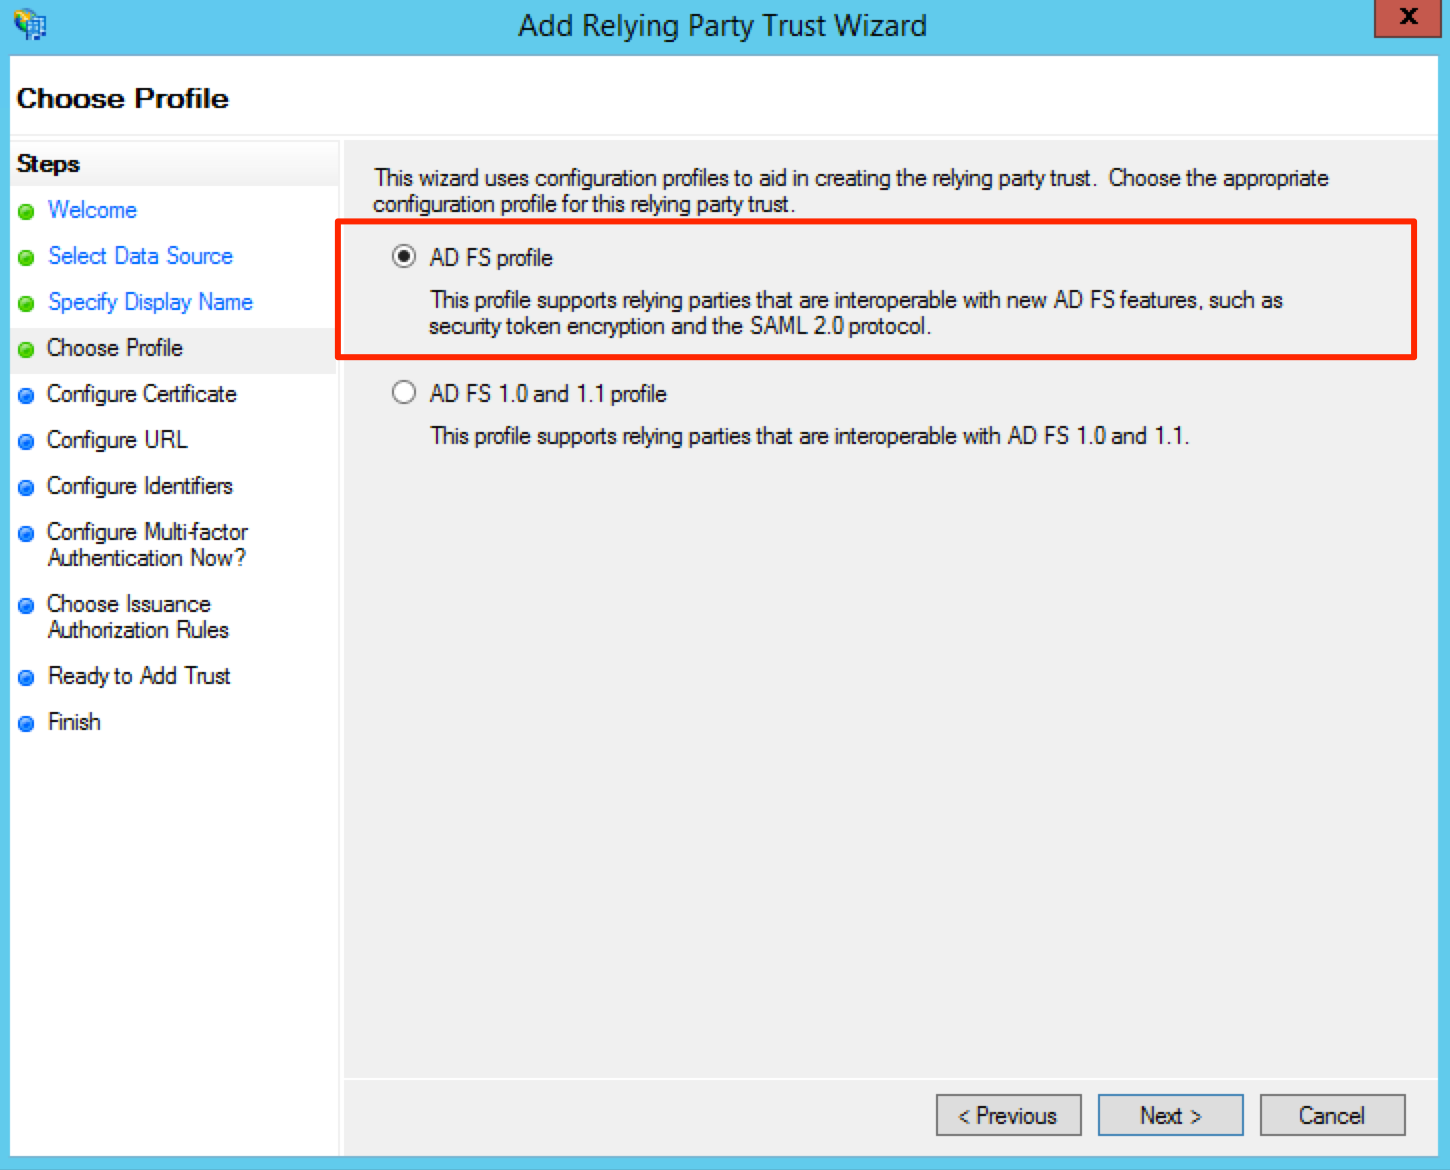
If the tab is offered Select the AD FS profile radio button and click Next.
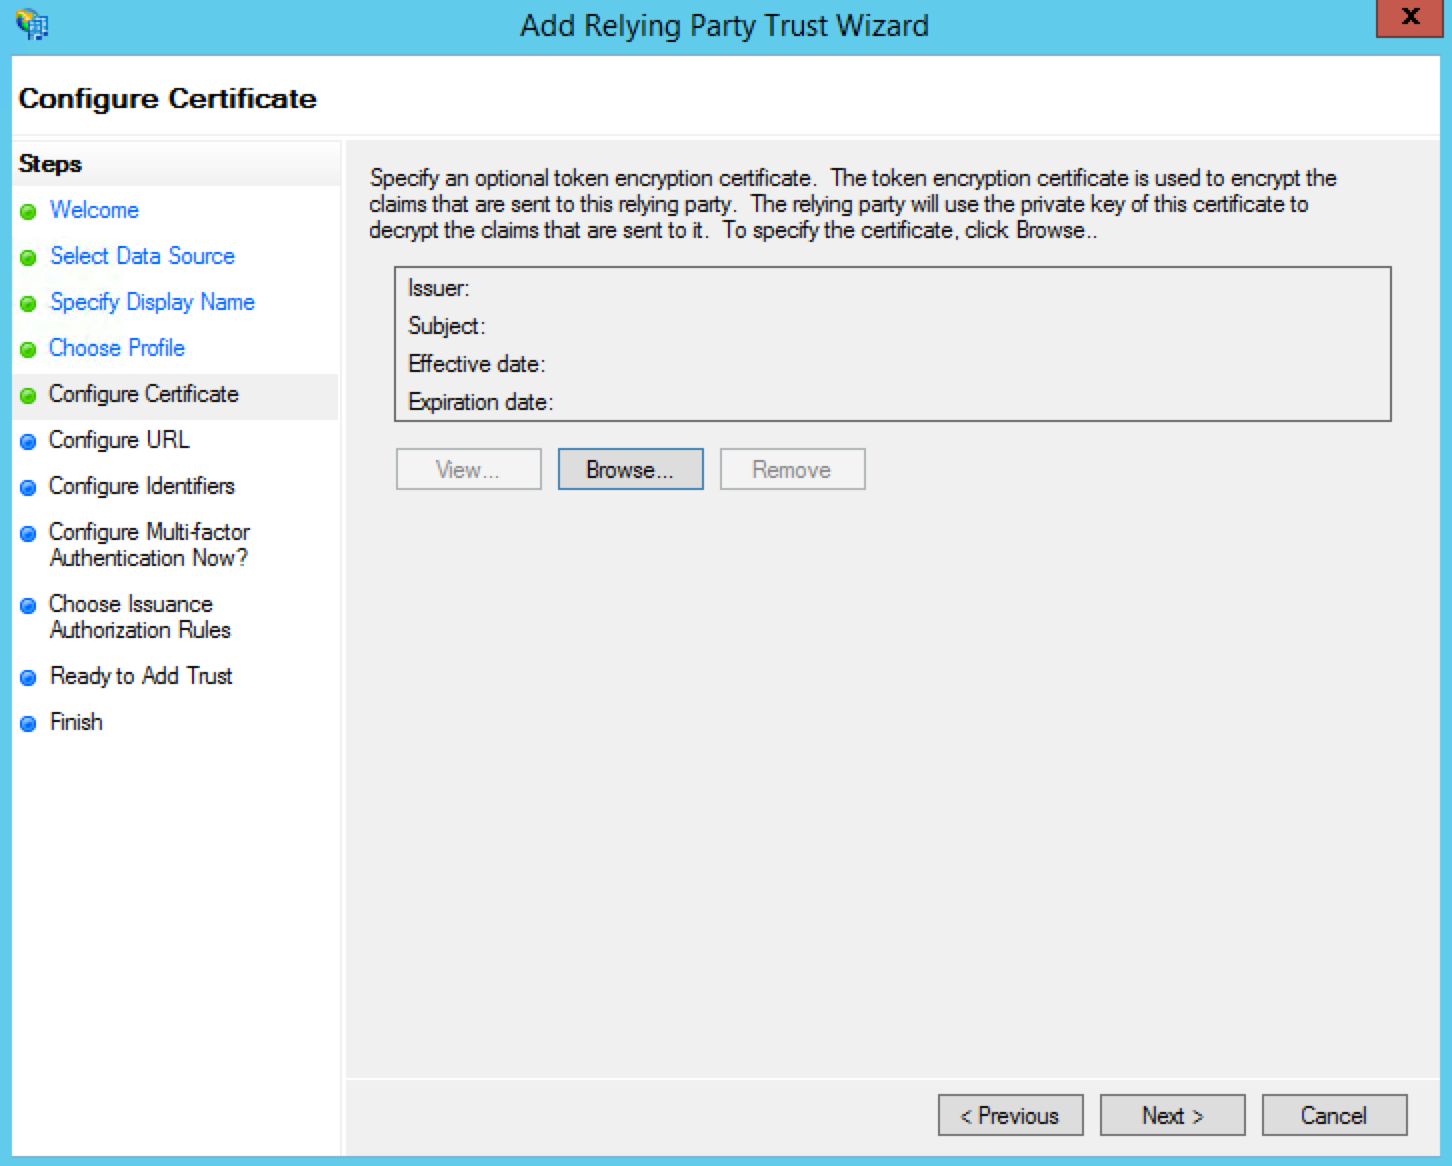
Under the Configure Certificate, leave the settings as their default settings and click Next.
On the Configure URL screen, tick the Enable support for the SAML 2.0 WebSSO protocol checkbox.
In the Relying party SAML 2.0 SSO service URL field, you will need to enter your appliances base URL, with “/saml.htm” appended to it. For example, if your appliance is hosted at “https://sme.example.com” you would enter “https://sme.example.com/saml.htm” in this field.
Click Next.
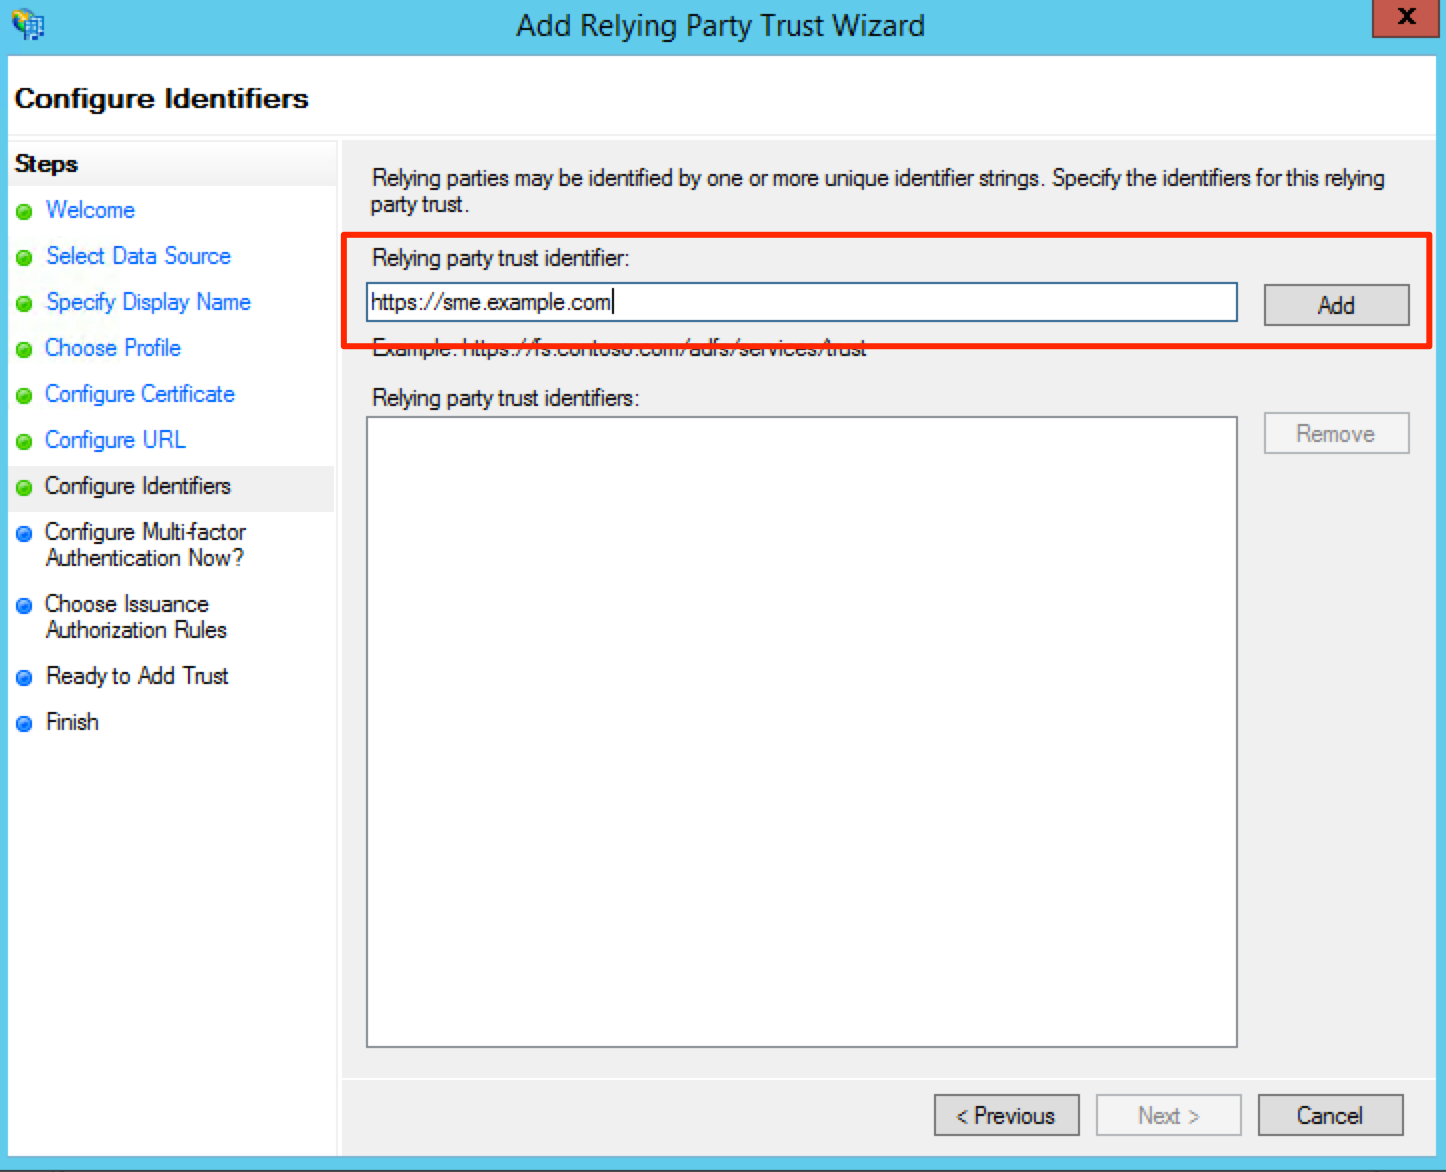
On the Configure Identifiers screen, you will need to enter the base URL for your appliance in the Relying party trust identifier field. For example, we could enter “https://sme.example.com” then click Add
You will then be asked if you wish to Configure Multi-factor Authentication for this relying party trust. You may do so, but it is out of scope for this guide.
Click Next
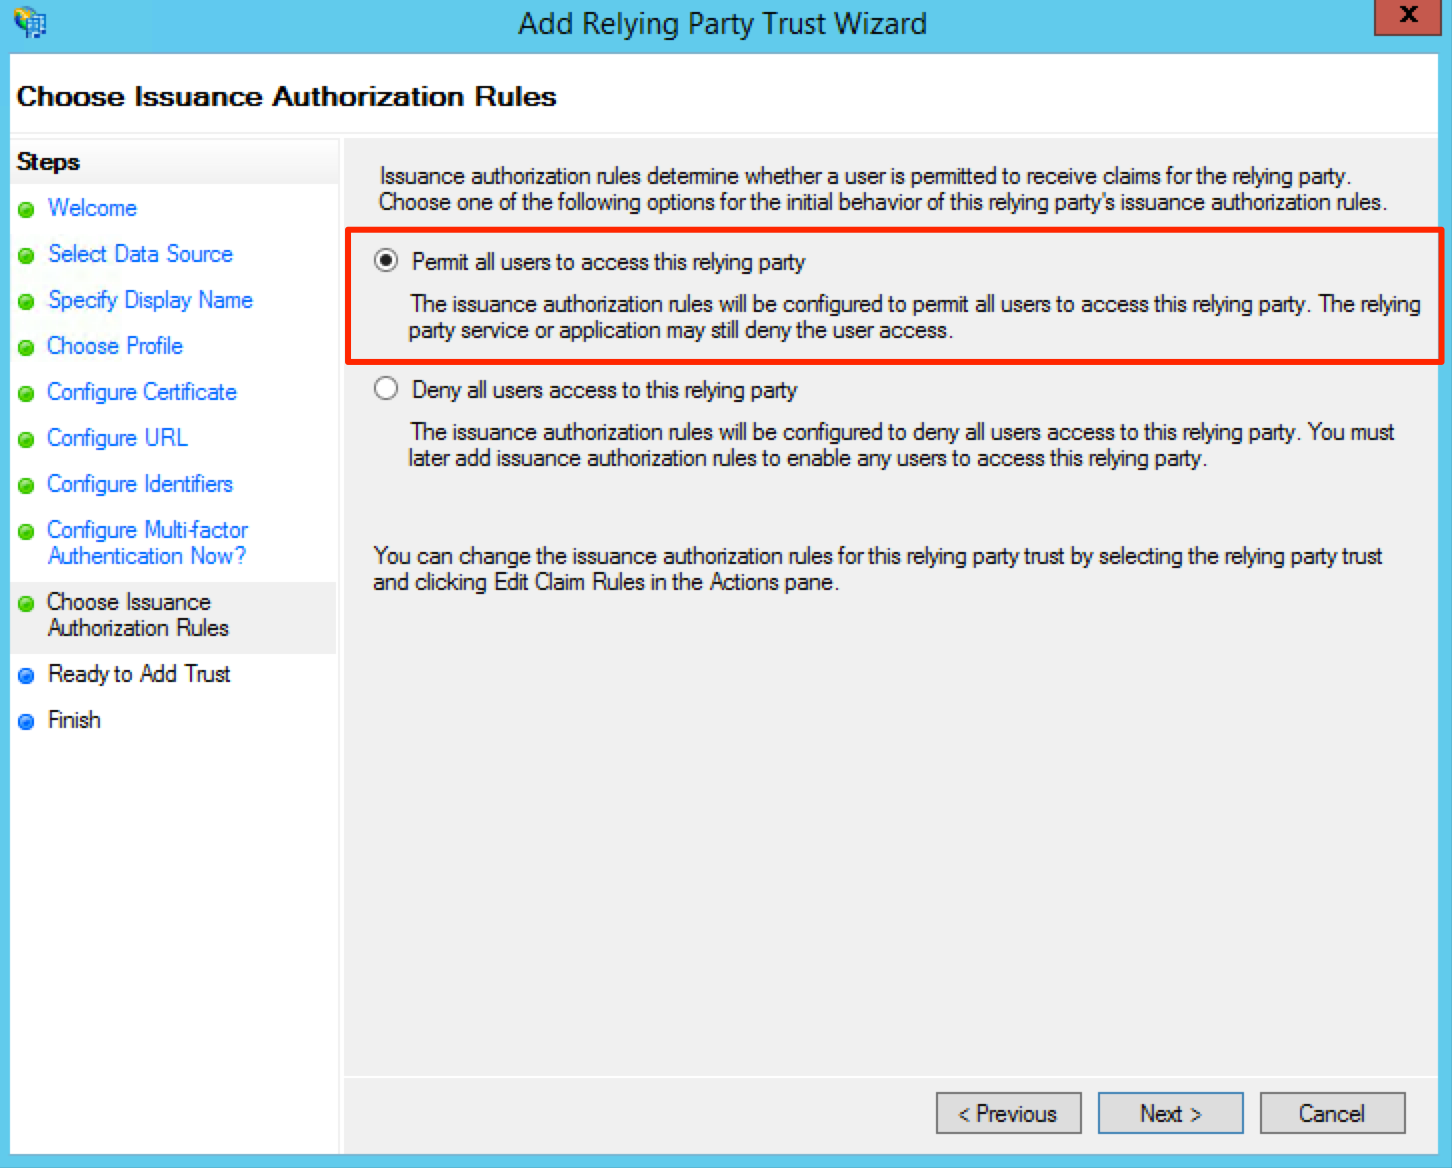
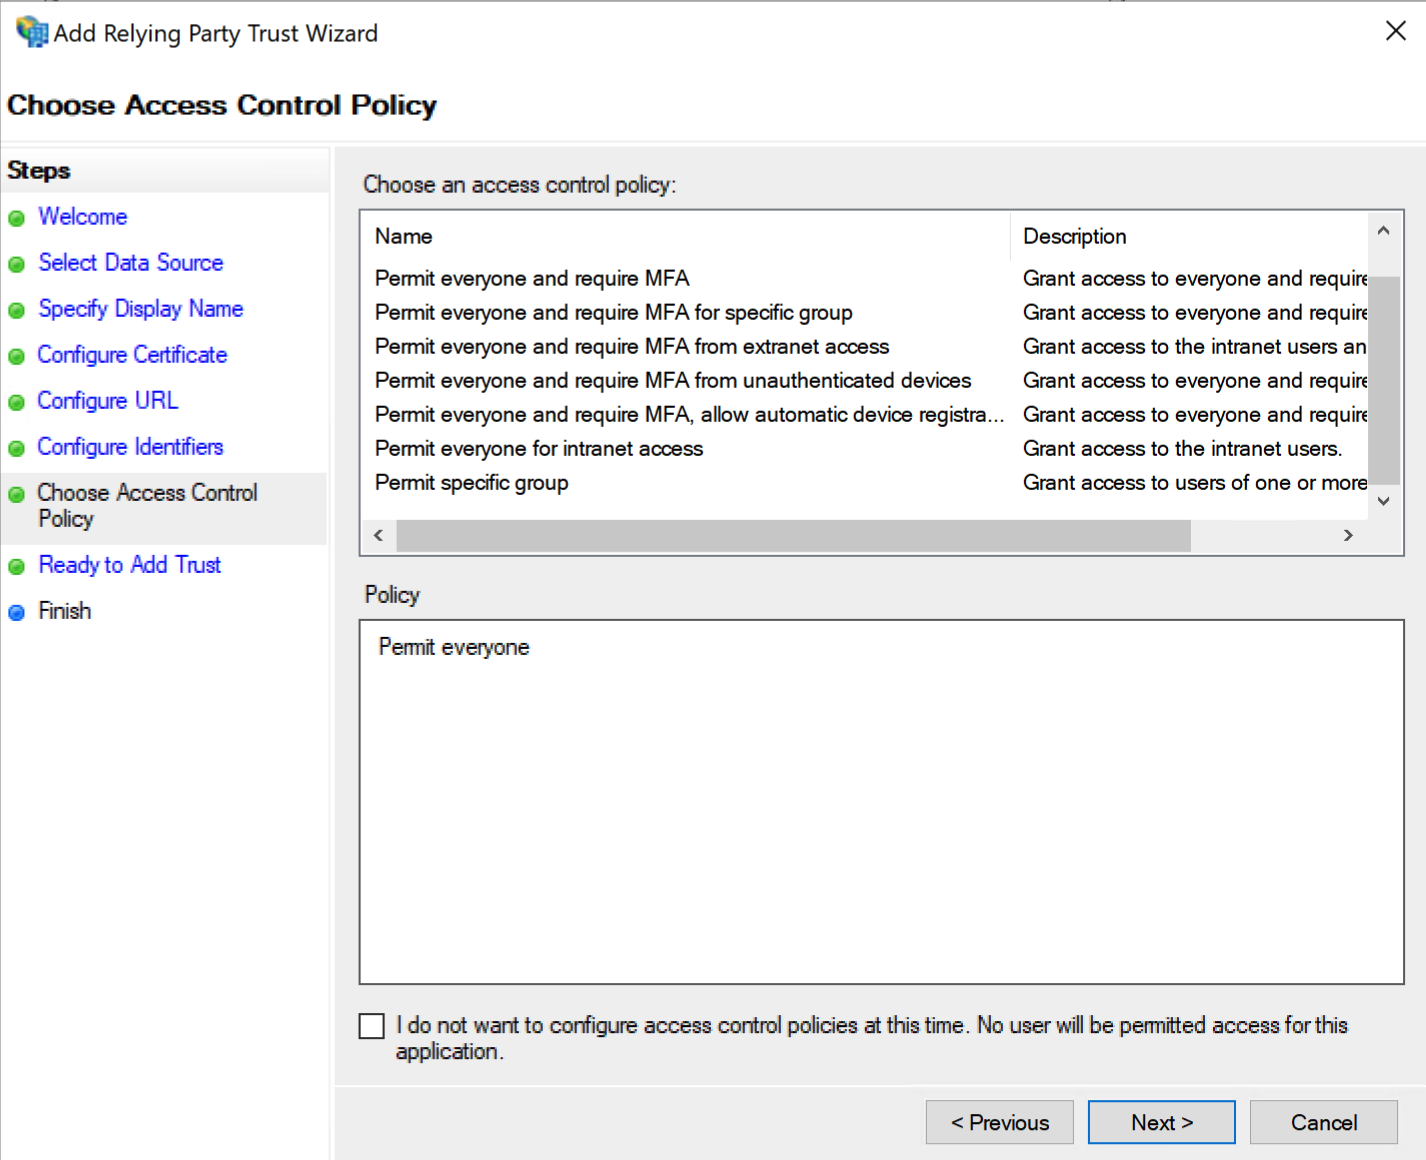
On the Choose Issuance Authorization Rules screen, select the Permit all users to access this relying party radio button. The page may look like this:
or this:
Click Next
On the Ready to Add Trust screen, review the settings you have entered.
Click Next
On the final screen, ensure that the Open the Edit Claim Rules dialog for this relying part trust when the wizard closes is ticked, and click Close
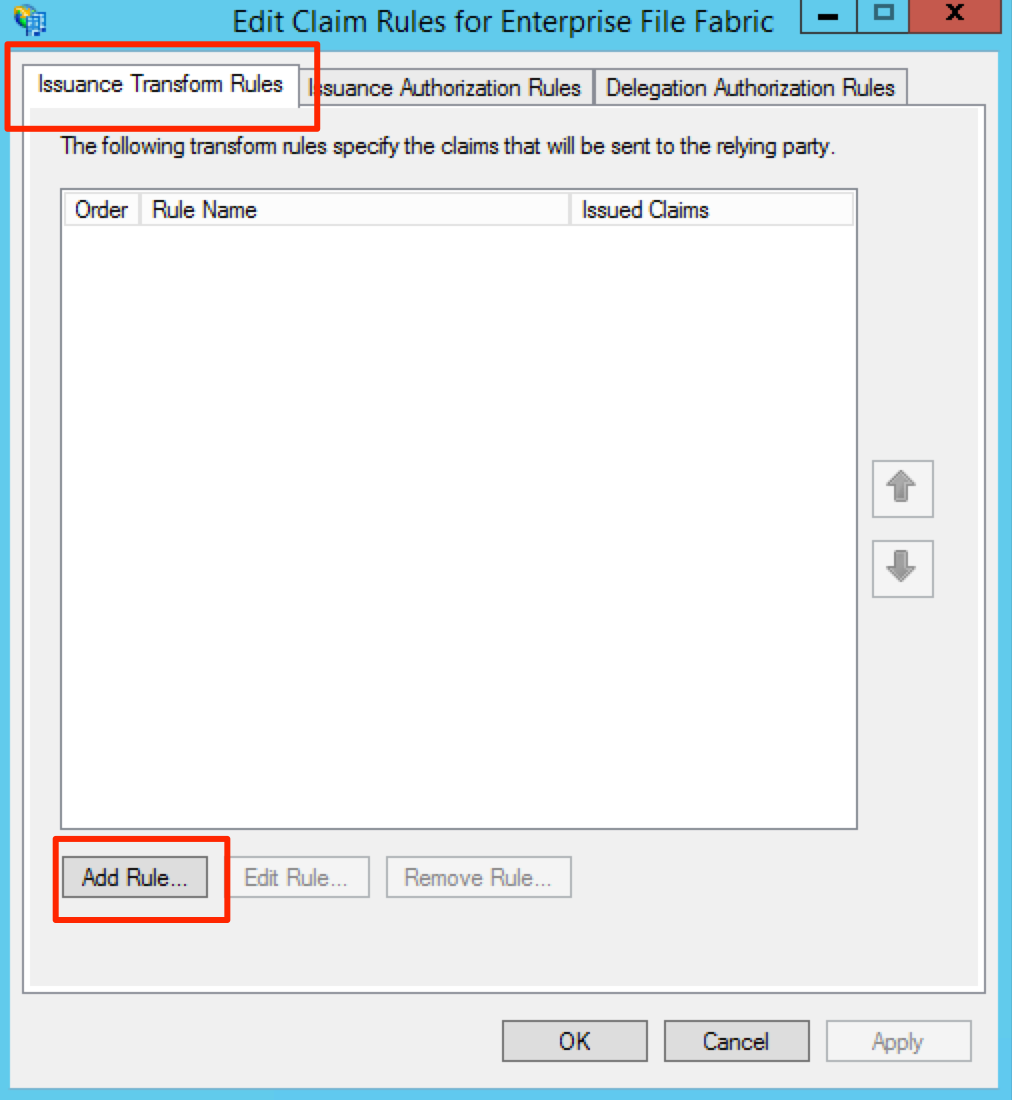
From the Issuance Transform Rules screen, click Add Rule…
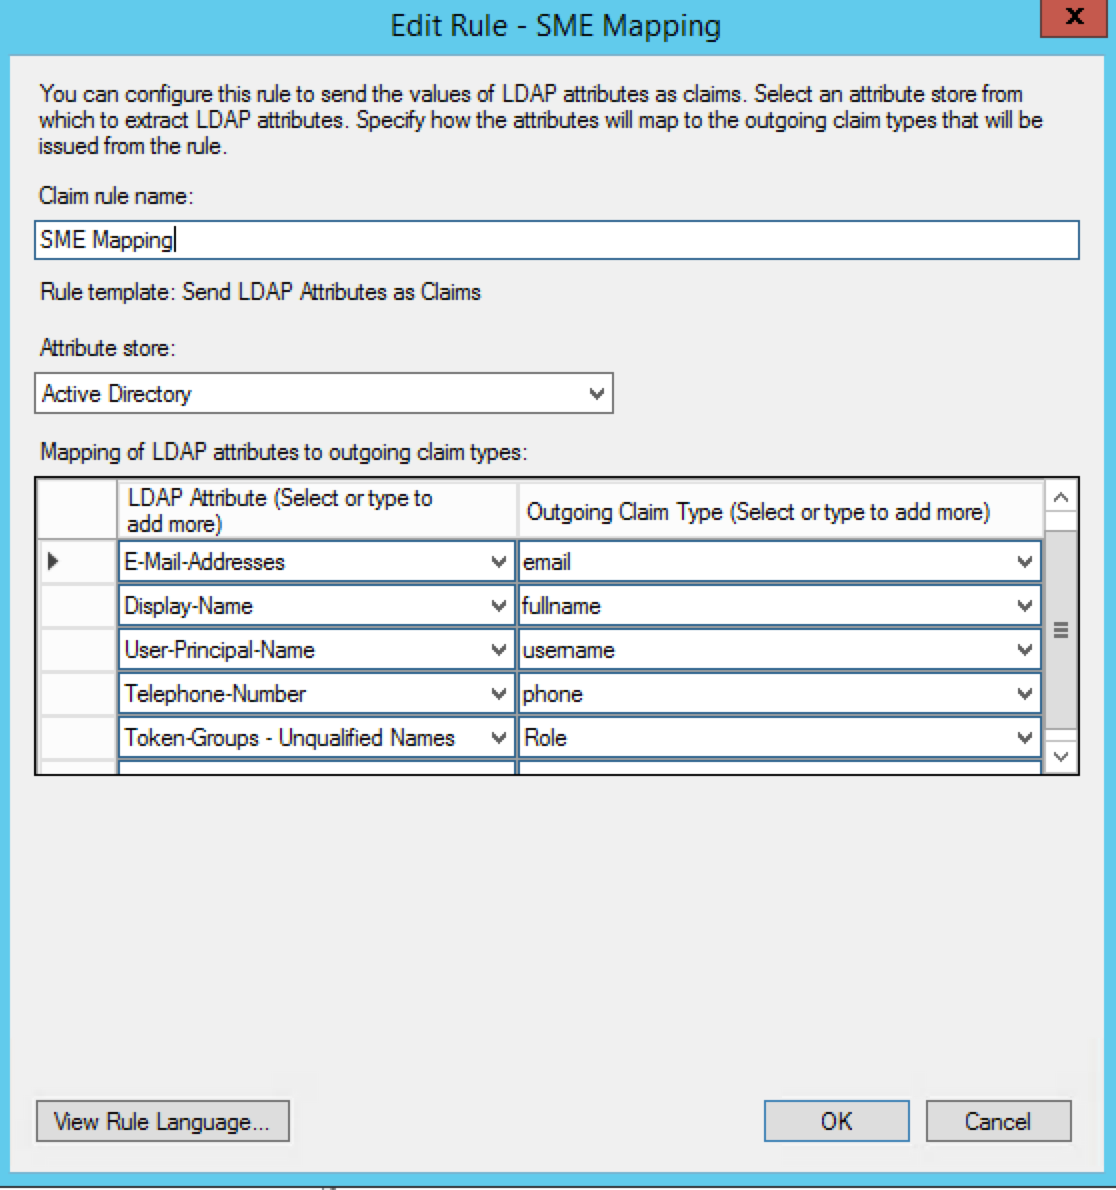
From the Claim rule template drop down, select Send LDAP Attributes as Claims and click Next.
Enter a friendly name under Claim rule name.
Select Active Directory from the Attribute store
Configure the Mapping of LDAP attributes as per the image below.
Next, add another Claim Rule.
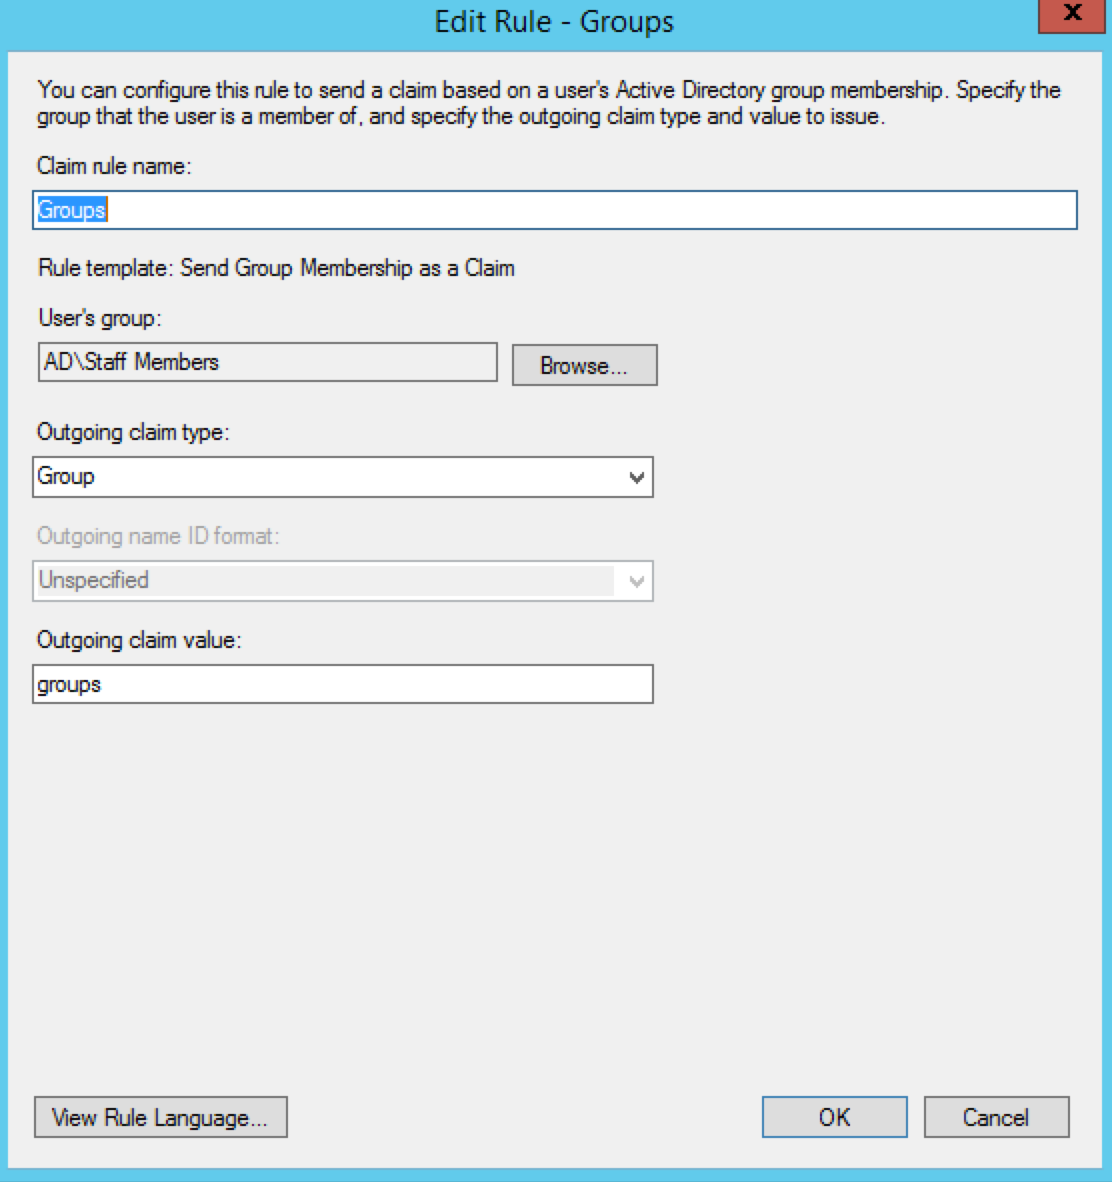
From the Claim rule template select Send Group Membership as a Claim. Provide a Claim rule name.
Select the User's group that this applies to
Select the Outgoing claim type as Group
Input the Outgoing claim value as “groups”
Close the Claim Rules dialog.
Next, visit the Certificates folder under Service
Double click on your certificate under the Token-signing section.
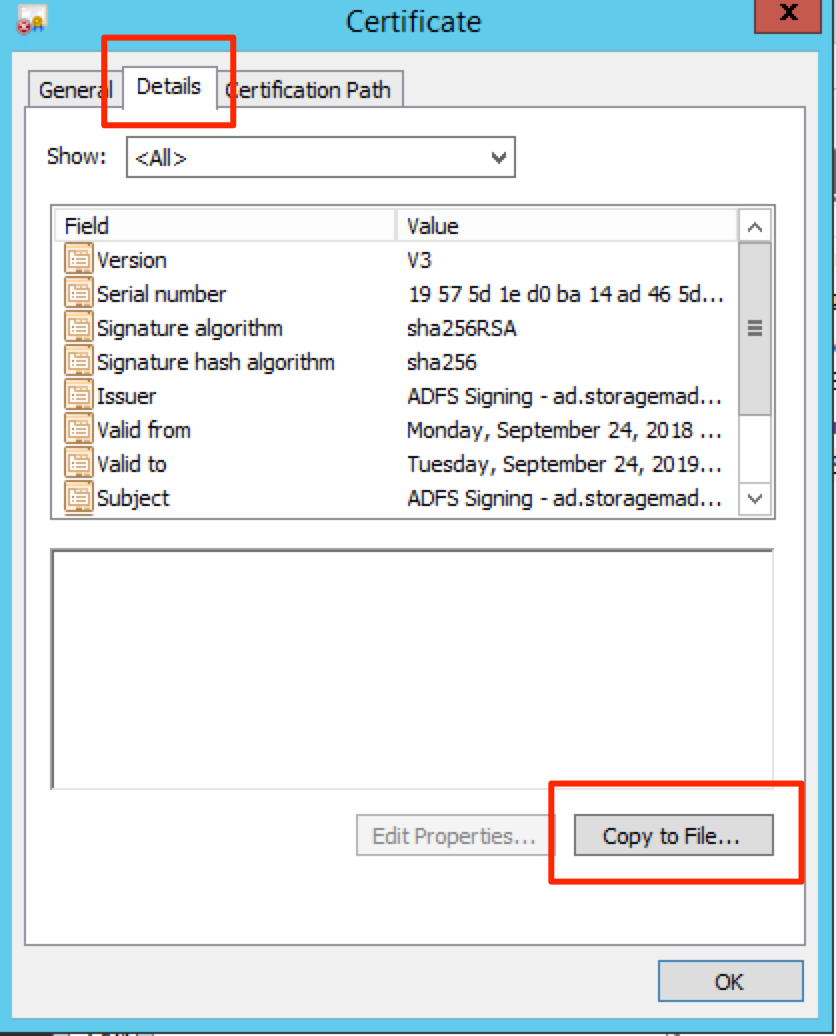
Click on the Details tab and click Copy to File
Click Next when the dialog opens.
Select Base-64 encoded X.509 (.CER) as the export format.
Click Next
Select the location on disk to store the certificate and follow the prompts to complete the export.
Finally, click on the AD FS folder on the left-hand side. From the Action menu, select Edit Federation Service Properties.
Copy the value from the Federation Service identifier field and save this.
Now we will configure the Auth System inside the NAA organization. Given the guide at the top of this document, the relevant fields from AD FS are as follows:
Service provider entity ID - This is the value from the Federation Service identifier field
SSO entry point - For AD FS this is typically the base URL of the service appended with “/adfs/ls”, for example “https://ad.example.com/adfs/ls”
Logout service endpoint - For AD FS this is typically the SSO endpoint with the additional query string of “?wa=wsignout1.0”, for example “https://ad.example.com/adfs/ls?wa=wsignout1.0”
Certificate data - Open the exported certificate you obtained from the AD FS system into Notepad, and copy the whole contents into this field.
Ensure the field mappings are as follows:
- Unique user attribute ⇒ username
- User Login Field ⇒ username
- User Name Field ⇒ fullname
- User Email Field ⇒ email
- Role\Group Name Field ⇒ groups
- User Phone Field ⇒ phone
