Table of Contents
Enabling the SMB/CIFS Connector
Last Updated: August 11, 2021
For the SMB/CIFS to be available it must be enabled both for the appliance and in the User Package for an organization.
For enabling storage file locking see Storage File Locking.
Enabling the SMB / CIFS Connector for Access Anywhere Appliance
- Login as appladmin in to the appliance
- Go to Settings → Site Functionality
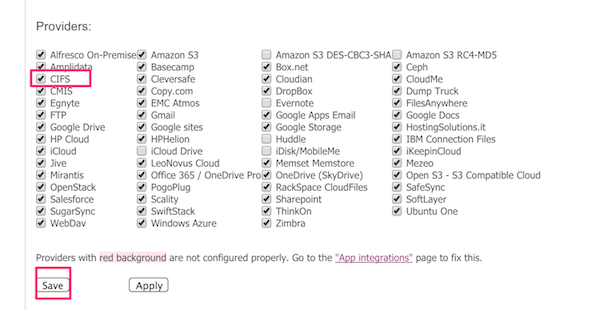
- Toward the bottom of the page under Providers ensure that the SMB provider is enabled
- If you are integrating locks with storage locks choose SMB - Storage Locking Enanbled. (For more information on integrating locks see Storage File Locking.)
- To ensure proper SELinux functionality do not change the default mount point ( /mnt/CIFS )
- Click Update Options at the bottom of the page
Enabling the SMB Connector for the user package
- Login as appladmin in to the appliance
- Enable SMB provider for the package and save
Adding CIFS / SMB to an account
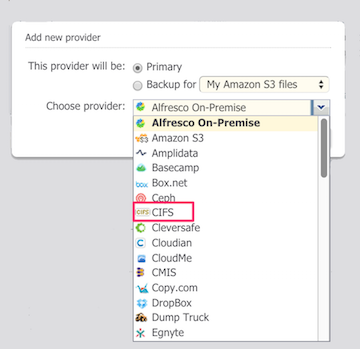
Login in to the NAA user account and you should see CIFS as provider in the dropdown list when you login as NAA user

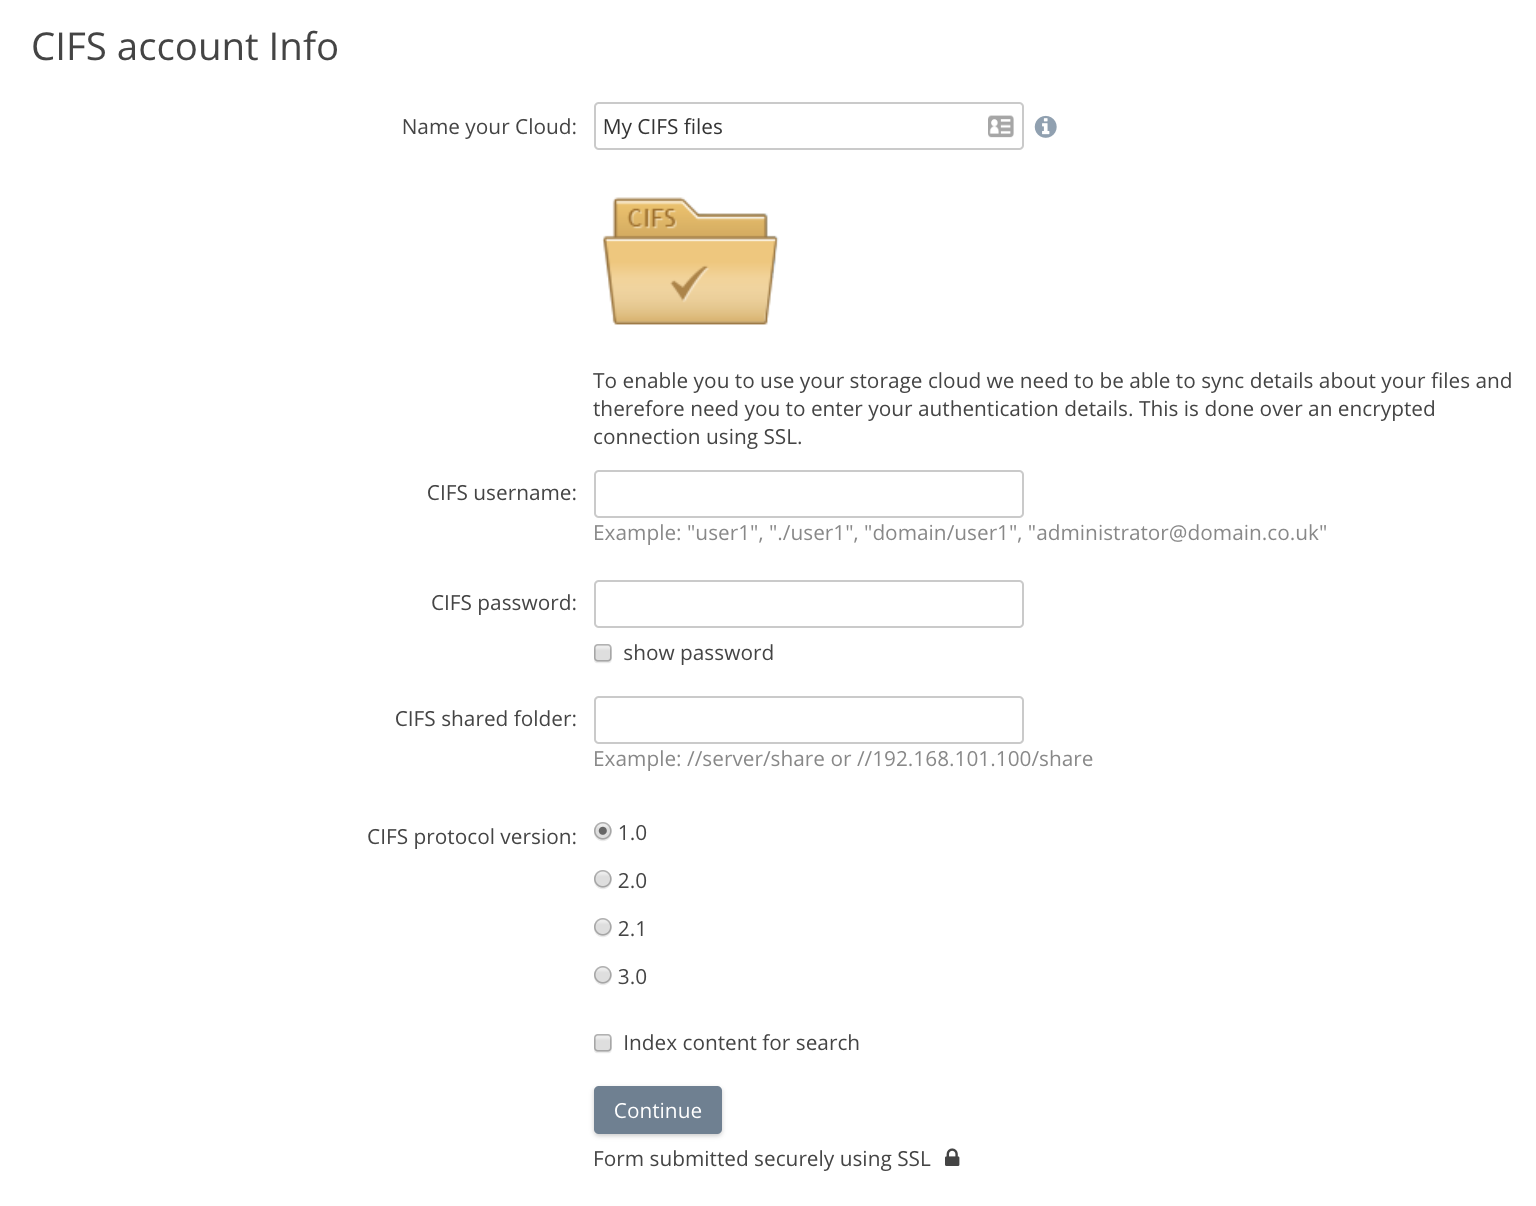
At this point you can use the provider wizard to add a CIFS share.
Disabling SELinux
In most cases Access Anywhere's CIFS provider can be used without changing Access Anywhere's SELinux settings. Depending on the CIFS implementation, however, it may be necessary to switch SELinux to disabled mode to make the CIFS provider work. If you have set up the CIFS provider without changing the SELinux configuration and the provider is not working as expected, follow these instructions to disable SELinux.
ssh as root
For these commands you will need to su as root
$ ssh smeconfiguser@appliance IP address
after establishing ssh session su as root
-bash-3.2$ su - root
Password:
SELinux to disabled mode
To validate that SELinux is indeed the issue with CIFS, First temporarily set SELinux to permissive mode. After setting, test the CIFS mapping again. If the CIFS provider is now successfully uploading and downloading data, proceed with setting SELinux to disabled.
setenforce 0
To permanently disable SELinux edit /etc/sysconfig/selinux and change the line
SELINUX=enforcing
to
SELINUX=disabled
FAQ
If you have added a CIFS / SMB share that is later directly removed then the metadata will remain visible in Access Anywhere but you will be given warnings that Access Anywhere cannot connect on upload, download or sync.
If you wish to remove this metadata you need to remove the provider entirely via the Cloud Dashboard.


