Cloud File Manager
last updated on: March 14, 2024
See also Editing with Microsoft 365 web applications.
1 File Manager
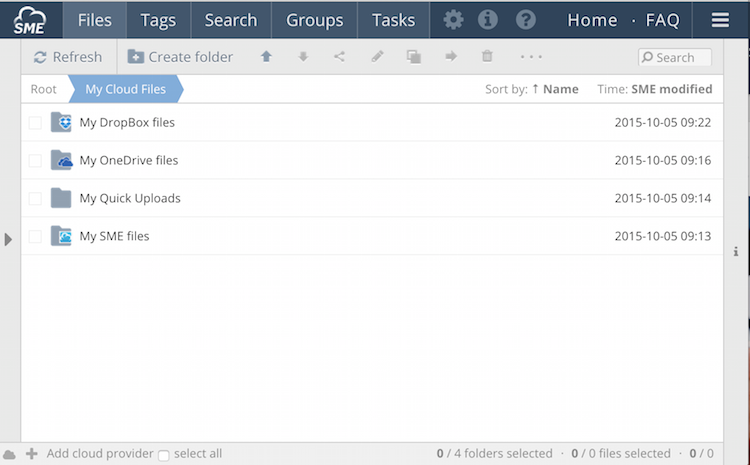
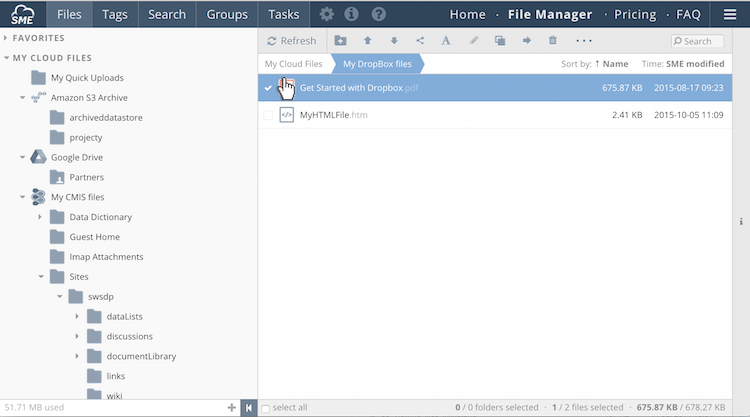
Access Anywhere's Web File Manager provides end-users and administrators with access to the files and folders stored on the various providers that are connected to Access Anywhere. Where two or more providers are connected and visible, the Web File Manager treats each as a top level directory in the root of Access Anywhere's virtual file system.
The Web File Manager is available for all major browsers.
2 File Space
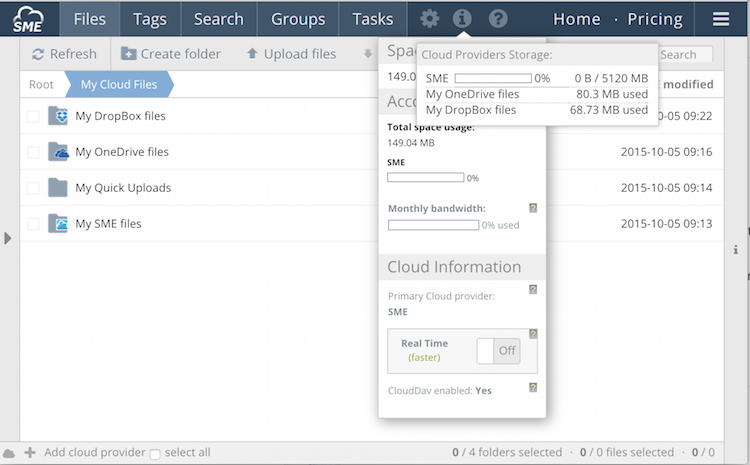
Clicking on the "i" icon in the File Manager shows NAA clouds usage information. The information that is shown depends on whether the user is an org. admin or an org. member. For an org. admin the info pane looks like this:
Hovering over over the 'total space used' when this is visible shows the storage status of al mapped clouds..
3 Accessing file options
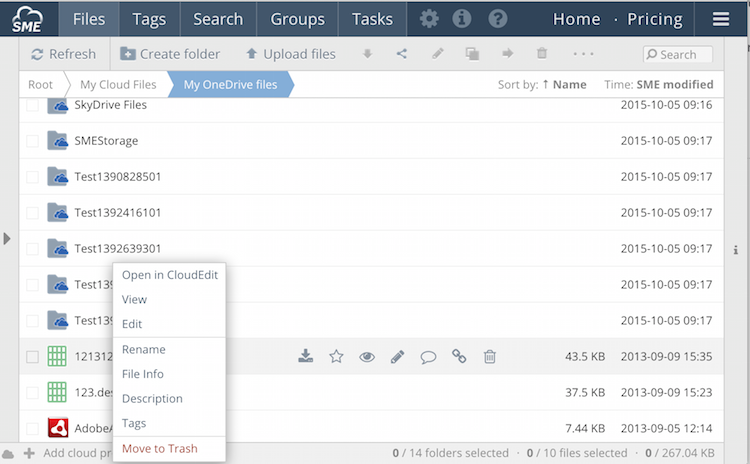
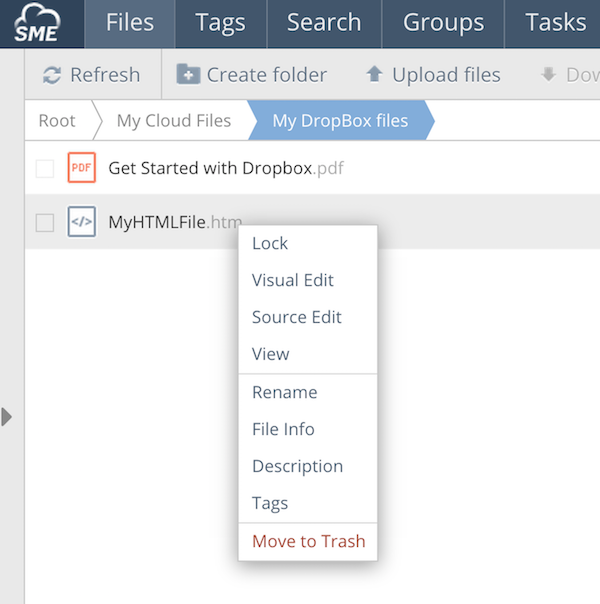
File options are available via the Right Click Menu.
4 Accessing Folder Options
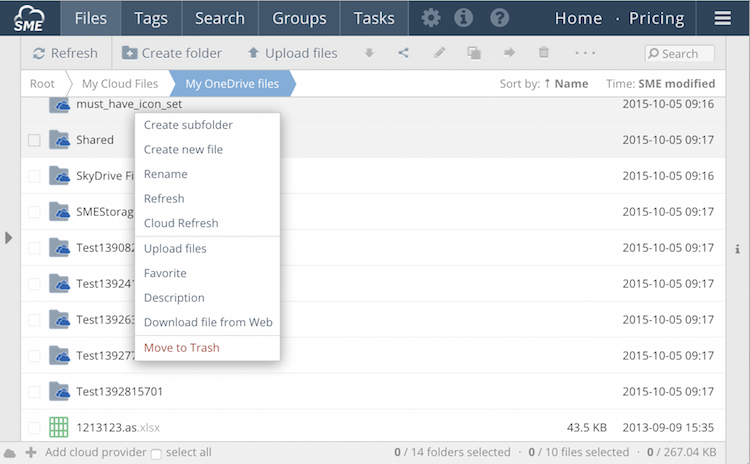
Folder options are available via the Right Click Menu.
5 Uploading files
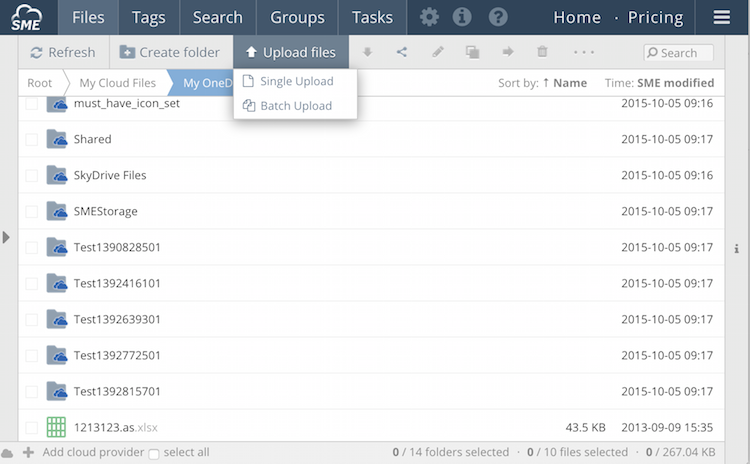
Click on upload and choose to upload a single file or choose batch upload if more than one file is to be uploaded.
6 Encrypting files
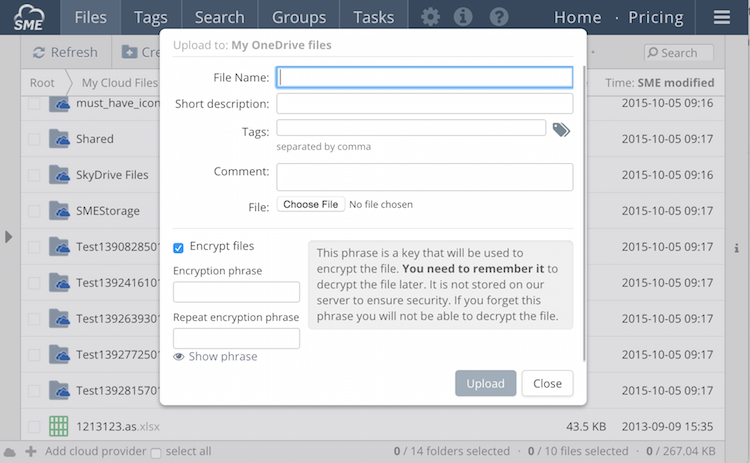
You may wish to add additional security for some files. When you upload files via the File Manager you have the option to choose for the file to be encrypted. This means that you enter a phrase that only you know that is used to encrypt the file. This phrase is not stored so if you forget it you will also not be able to read the file!
Files are encrypted using AES SHA1 256 bit encryption.
If you share the file you will also need to share the encryption for users to be able to read the file.
7 How to tell if a file is encrypted
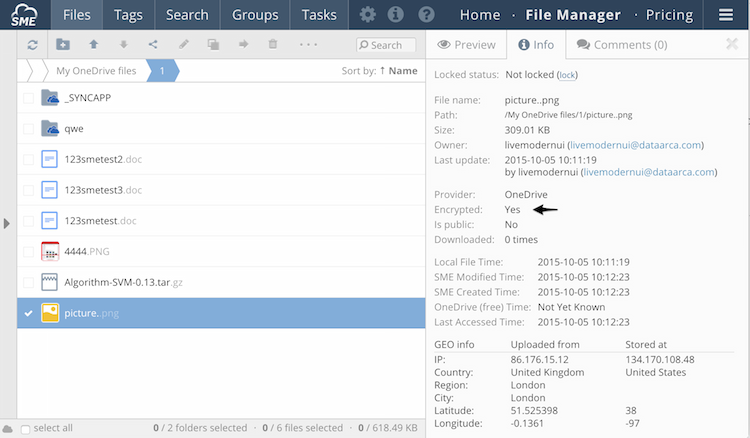
You can easily tell if a file is encrypted by looking at the file information section in the info sidebar.
8 Accessing encrypted / password protected files
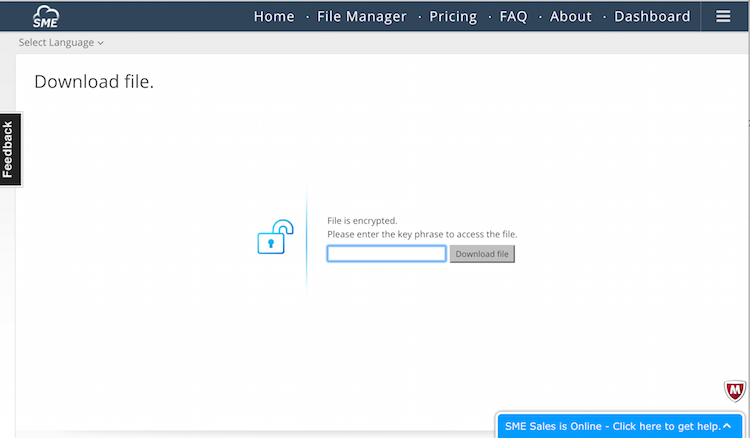
Whenever a user who receives a shared link tries to download or access a file that is encrypted or is password protected, he will be brought to a screen that asks him to enter the file password. On successfully entering the password or encryption phrase he will be able to download the file.
9 File upload and location information

The "file info" shows detailed information about the file, including shared links, whether the file is encrypted and whether it is locked. It also includes other governance data such as File GEO location information, which includes the IP address and also the city and country from where the file was uploaded. Maps showing these locations can be displayed.
14 Trash view
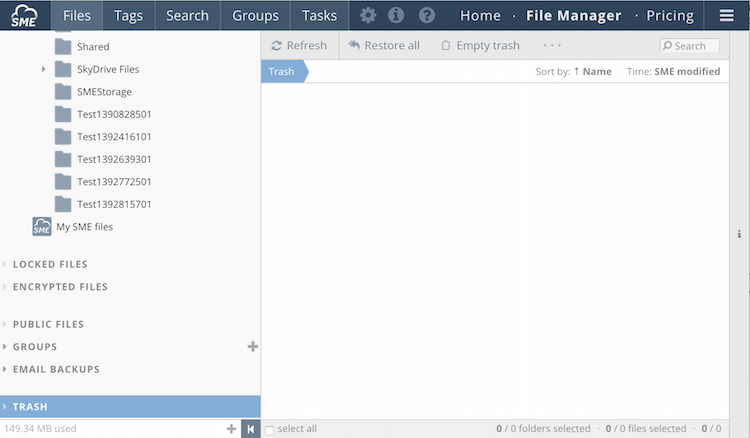
The Trash view on the File Manager is visible when you navigate to the Trash icon in the folder tree. If you have not clicked on the Trash icon you will not see the Trash options in the File Manager toolbar.
Restore all: Restore all items from Trash to original locations
Empty Trash: Delete all Files
Right clicking on individual files enables them to be deleted or restored.
Until a file is removed from Trash it will still exist in a .trash folder on the same storage as the original file.
15 Business Groups Workspace
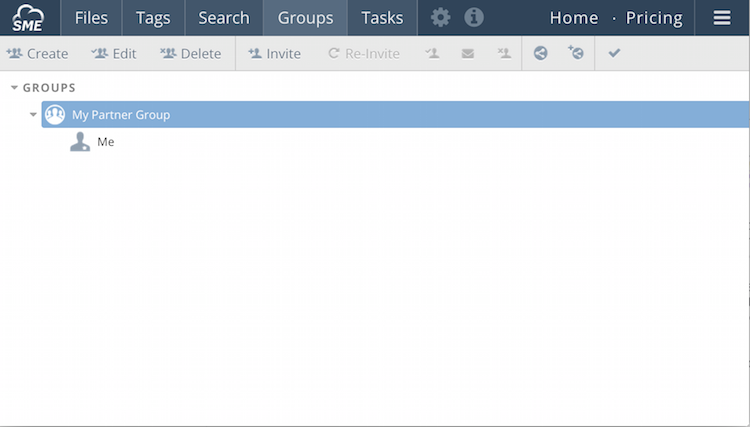
You can think of a business group as a virtual workspace where you can share content with colleagues and friends. Whenever you add new files to a business group, they get shared to all the members of the group members automatically. There is no need for you to share each file again to a set of email addresses.
If a new member joins your work team you can add him/her to your business group and he/she can see all the files that are there. You are able to set different permissions for each of the members in your workspace which enables them just to view files or to be able upload files You can also share folders as well as files with your business group.
Business groups give organizations a way to collaborate with external companies or users, similar to what Shared Team Folders provide for collaborating with org. member.
Group Actions
Refresh - Refresh the group view
Create new Group - Create a new business Group. A business group is name for a group of people whom you invite to share content. You can enable user to only view content or upload their own content. You can also choose whether users can see each other or not when you create the business group. When any content is shared with the group all users receive an email telling them about the new files that have been shared with the group.
Edit Group - Enables you to edit an existing business group.
Delete Group - Deletes an existing business group and all its users.
Invite user - Invite a user to be a member of a business group. The user will receive an email asking them to be come a member of your name business group.
Unsubscribe User - Unsubscribes a current user from a business group.
Repeat Invitation - Send a repeat invitation to a business group member (if they have not accepted the prior invitation you may want to use this)
Edit user permissions - Edit the user permissions for the business group of which they are a member.
Request a file - Enables a group admin to request a file from a user. An email is generated asking a user to send a specific file to the group
Add auto-sharing rule - Auto-sharing rules are rules that can be applied to directories. The directory location is taken from the directory that you have highlighted, or are in, before moving to Groups->Add Auto-Sharing rule.
An auto-sharing rule tracks changes to files the directory you nominate (and sub directories if you nominate this) based on a number of different conditions that you choose. The conditions are file extension, file name or file description. If you chose .doc for example and a new file of type doc is added you will receive an email letting you know this. If you choose a specific file name and a revision is done to this file you will receive an email letting you know etc.
Show auto-sharing rules: Show any auto-sharing rules that already exist and enables you to edit them.
The following sections will look at some of the options in a little more detail
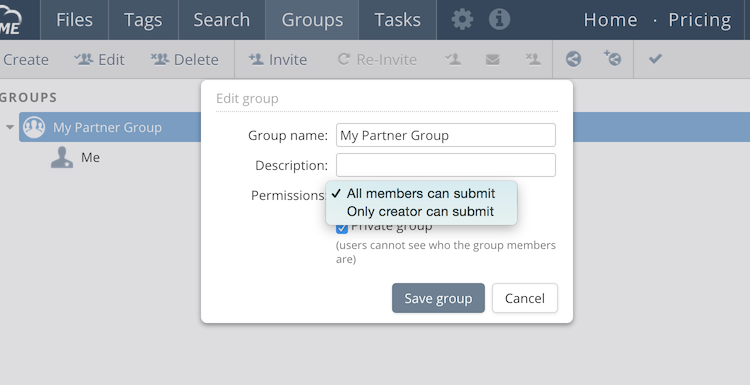
16 Creating a Business Group WorkSpace
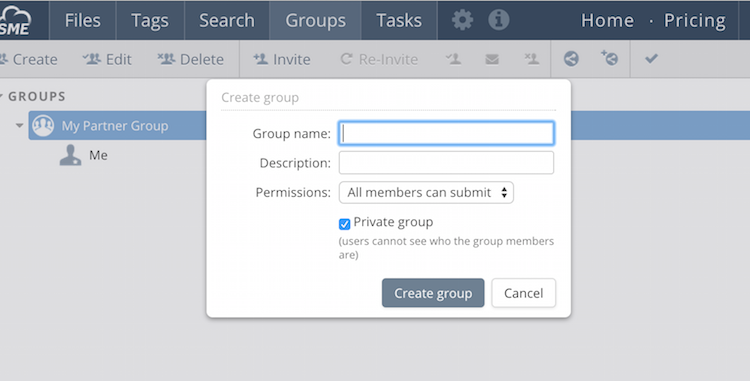
You can add new business groups from either the File Manager, desktop, or mobile tooling. When adding the group, there are two options to be aware of:
- You can choose whether all members can submit content or just you as the creator
- You can decide whether the group is 'private'. This decides whether the members can see each other or not.
17 Adding a new Business Group member
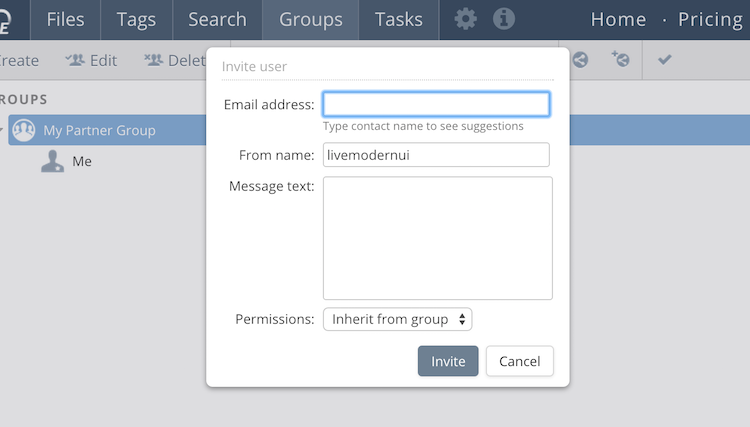
Group owners can request members to join a business group. This will generate an email to the user added with the comments the co-ordinator entered.
18 Business Group Member permissions
You can edit group member permissions for a business group to decide whether users can submit content or not. This overrides the default settings for the business group when you set it up.
19 Requesting a file from a Group member
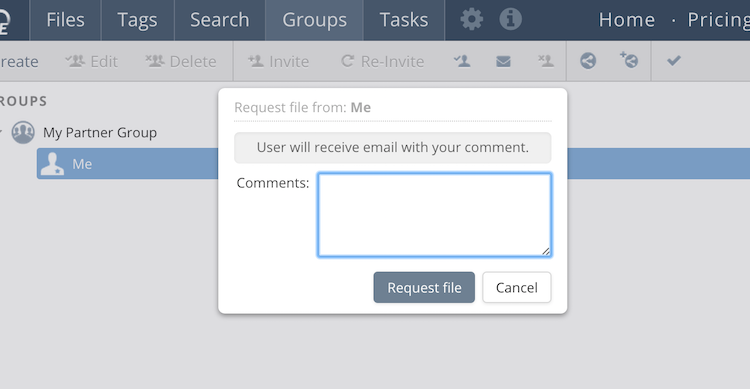
A group owner can request a member to submit a file. This will generate an email to the group member with the comments the group owner enters.
20 Business Group shared folders
When a folder is shared with a business collaboration group it becomes visible in the Business Groups Folder.
21 Tags view
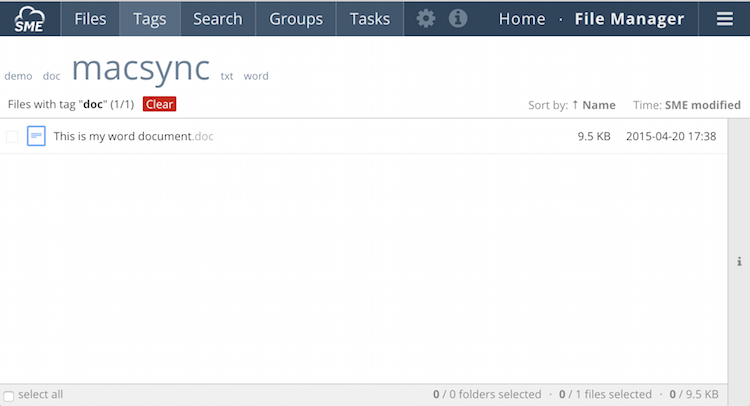
Tags - Tags are like keywords that you assign to your file when uploading. You can assign more than one Tag to any file. Clicking on the Tag presents a list of files to which you have assigned that Tag. Tagging is an easy way to group and then find your files.
Tags can be sorted, the number of tags visible can be changed, and recent tags only can be show.
When you are uploading a file, after you pause when you are typing characters, any known tags will popup for you to choose, or you can click the "+" icon to be taken straight to the tag explorer to choose tags.
22 Cloud Search
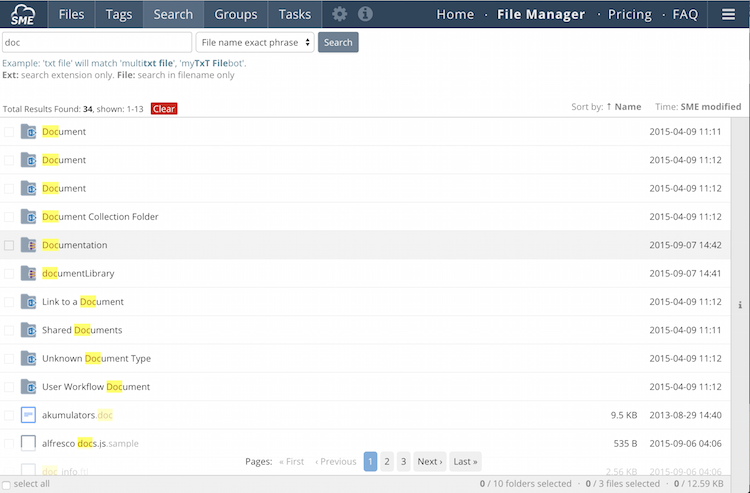
You can search for files across all the clouds that are mapped to your account. You can also save searches and then easily re-run them at some point in the future. In the screenshot above we have saved a search for .doc files across all clouds.
Enterprise on-premise users get an expanded WYSIWYG search editor and content search of files due to the integration with Apache SOLR.
23 Moving Files
You can 'move' or 'copy' files by dragging a file from one location to another. The default action on drag is 'copy' and if you hold down the shift key before releasing the 'copy' is changed to a 'move'.
24 File Sharing

Files can be shared simply by selecting the file and choosing the sharing option for the menu bar. Sharing options are also available on right click.
Share with Group: Sharing with a business Group results in the members of the business group receiving an email with file link
Generate Direct Links: This will generate direct URL links. See the next section for more detail
Email File: When choosing to email a file then a file is sent by Access Anywhere
25 URL File Sharing
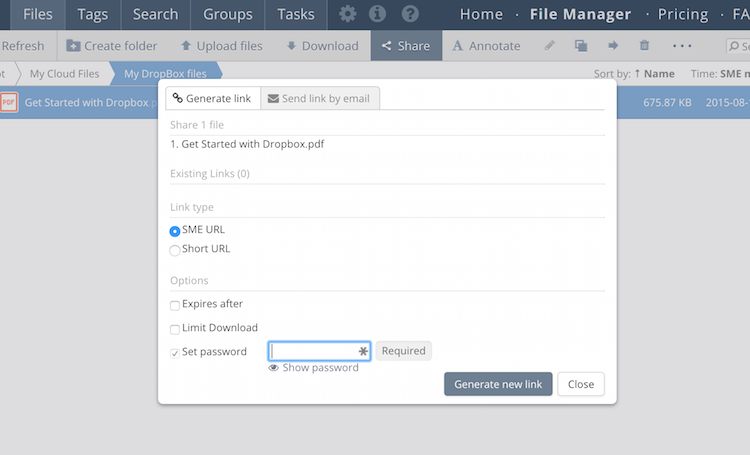
When choosing to generate URL links there are options to set when the link expires and also to password protect the file which means the user will need to enter a password prior to download.
27 Editing HTML files
You can edit HTML, text or code files directly within the browser by clicking on the fllename and choosing "Visual Edit" or "Source Edit"
28 Edit text or code files as a document
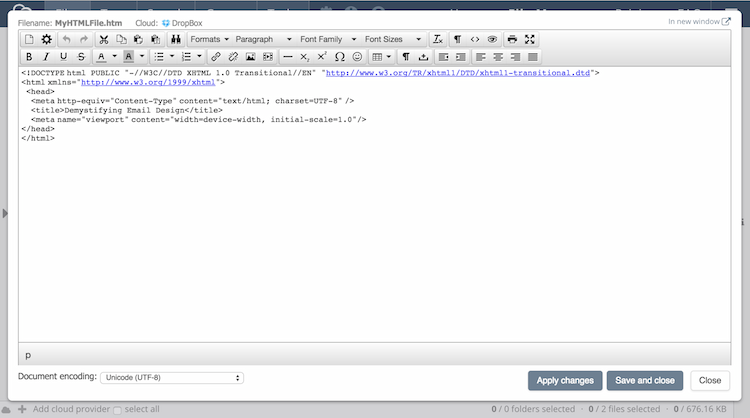
Choosing to edit as a document brings up the WYSIWYG editor where you can make changes and save back to your storage.
29 Edit text or code files as Source
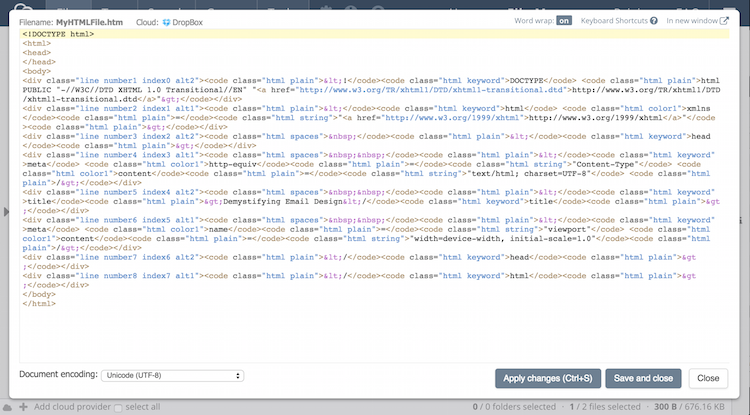
Choosing Edit as Source enables you to edit the document at a code level. You can also choose the type of document so that you get the correct highlighting etc.
30 Editing Office documents
Other Office editing options can also be set as the default, including Microsoft Online Editors, Google Docs editing or direct office editing in the desktop.
33 Viewing files inline
Files can easily be viewed inline using the expandable document preview. Simply hover over the file and click the 'eye' icon to preview a file inline.
If you would like to edit or work on the documents you can do this by choosing 'edit' or 'annotate' from the toolbar when a document is selected.
34 Adding comments to files
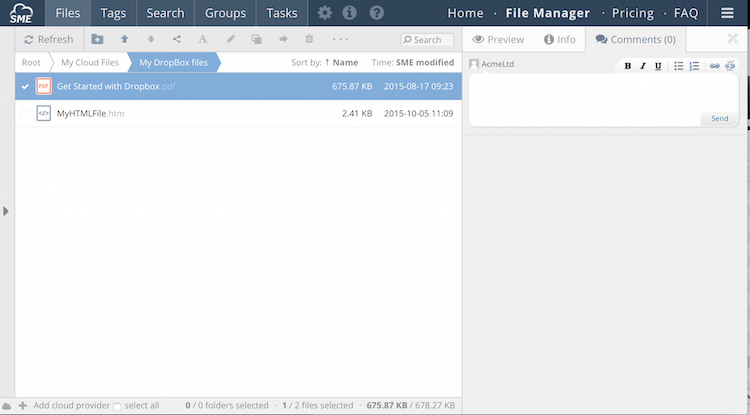
Comments can be made on files and shared files. To comment,simply click on the comment icon when hovering over a file.
Comments can also be exported as a HTML file to ensure key information is not lost.
35 Locking a file
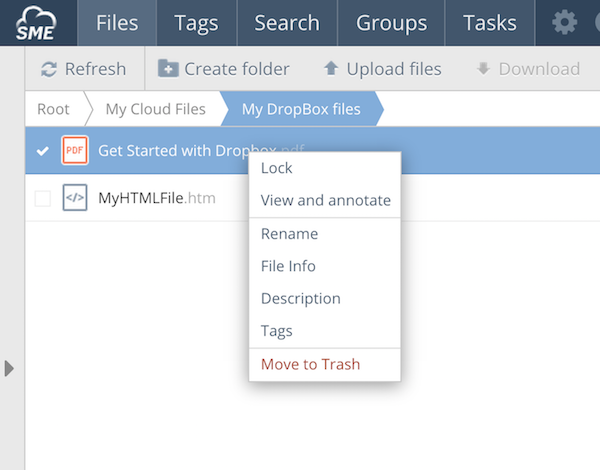
Business users of the Cloud File Server have an extra option in the Cloud File Manager that enables files to be locked. This enables the files to be edited by the user who locked the file prior to updating and then unlocking the file.
Other users have read access to a file when it is locked.
A file is marked visually as being locked when a lock has been placed.