Adding Evernote Cloud Provider
Last updated on April 24, 2019.
1 Adding from Dashboard
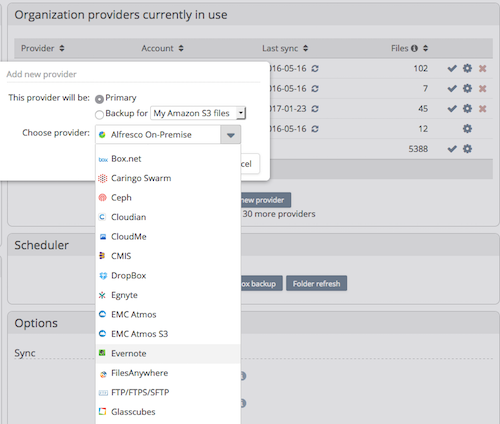
Navigate to the NAA Cloud Dashboard and choose to add a new Cloud and choose the Evernote Cloud
2 Authorize NAA
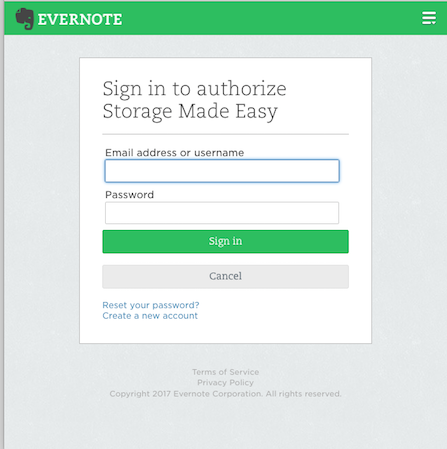
Authorise NAA to interact with the Evernote account.
3 Sync meta data

Once authorization is done NAA will start to index files from the Evernote Account. The sync will show the status as to when completed.
4 Sync report
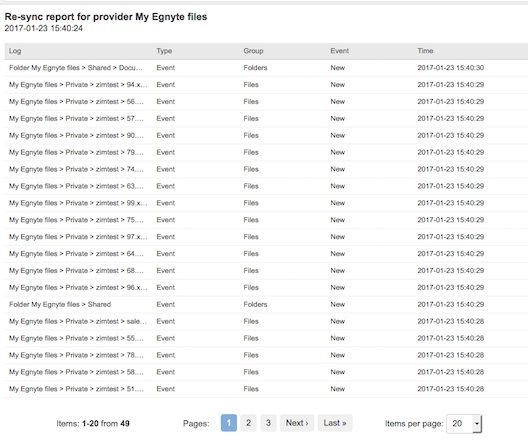
A report is provided that shows the status of each individual item sync’d
5 Evernote files in File Manager
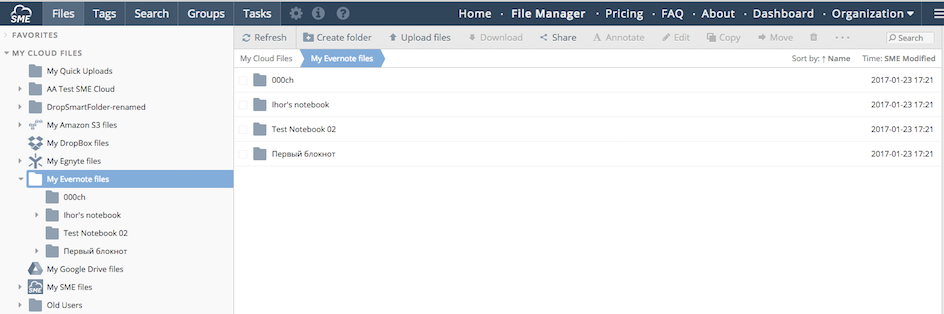
Once done the Evernote files can be managed using the Cloud File Manager
Users can use Evernote with NAA from the NAA web, desktop and mobile clients that Access Anywhere supports.
7 Note!

Note that Evernote may impose rate limits against the use of their API. This can result in not all of your data being indexed if your account is large. Where this is the case this will be clearly shown in the sync log and you should, later, run the sync again where files missed will then be added.
This page: Access Anywhere Handling of Rate-Limiting Storage Providers explains how Access Anywhere responds to rate limiting.
Using NAA with Evernote Restrictions: - Files can be uploaded only to the Note.
- It is not possible to remove Notebooks.

- It is not possible to create folder in the Note.

- Each Note have a file ‘index.html’. This file cannot be moved or removed. You can edit it (see http://dev.evernote.com/doc/articles/enml.php )

- When files are uploaded to the Note or removed from the Note then the file ‘index.html’ will be changed.

- Evernote does not support two files with the same content in the same Note.