Adding the OpenStack Cloud Provider
Last updated on April 24, 2019.
Access Anywhere is able to let your OpenStack account be used as a file cloud from the Access Anywhere Open Cloud Platform. This means you can easily manage and access your OpenStack data from desktop and mobile clients.
1 Step 1: Choosing OpenStack
The first step is to choose to add the OpenStack Cloud to your Access Anywhere Account. This will occur either as a first step on logging into the account and adding a Cloud for the first time, or later from your Dashboard which is accessible from the right sidebar after login to the website).
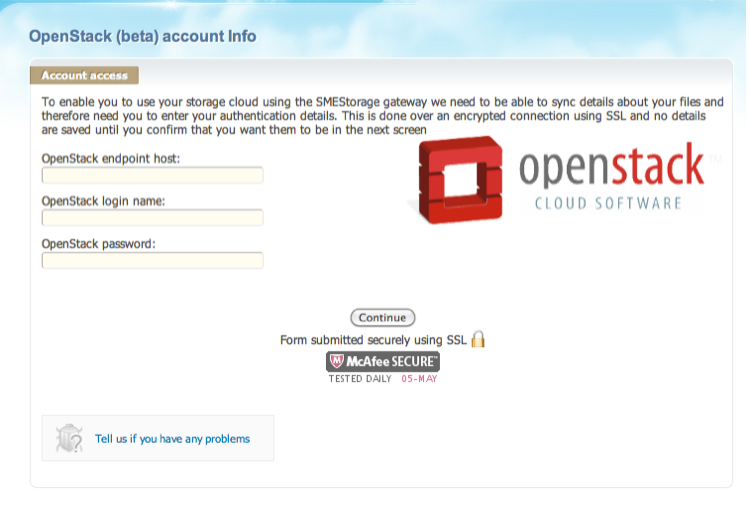
You need to authorise Access Anywhere to access your OpenStack account. To do this you need to enter:
endpoint: in the format of IPaddress:Port
username: your username
password: your account password
Access Anywhere uses this information to ask for access to your OpenStack account on demand.
All authentication data is stored encrypted, with the encryption key being stored in a separate key server for security.
2 Step 2: Choosing containers to import
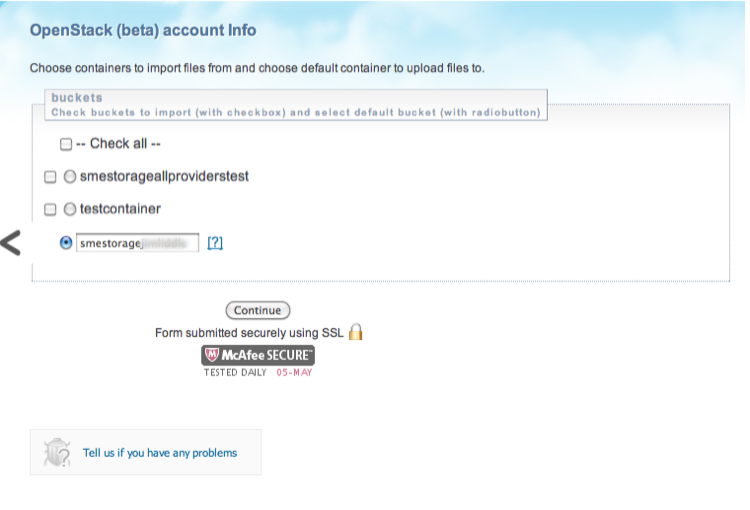
The radio button defines which is to be used as the default container or suggests a new one that would be created if you chose it. The checkbox defines which containers are included in the meta-sync and are therefore available to be accessed and managed from your NAA Account.
3 Step 3: Cloud Meta Sync
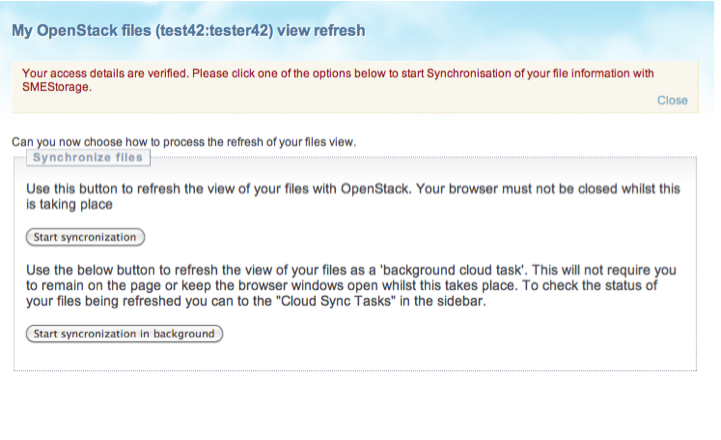
Access Anywhere creates a meta-cache or index of the information 'about' your files on first connection. Your files don't move anyway, we just index information such as filename, datestamp, size etc to enable us to speed up the 'view' to your files, and also to make it easier to search for information quickly.
You can choose to do the meta-sync in the background or just start synchronisation in the browser. The differences of each are:
- Foreground - this uses the browser to do the meta-sync and if the browser hangs or you exit it will stop. If you have a small amount of flies (under a few thousand) then this is fairly quick
- BackGround - this is run as a scheduled Cloud task and occurs within a minute. You will be taken to a page where again you can monitor progress but if you leave the page it will continue it will continue.
4 Step 4: Sync Completed
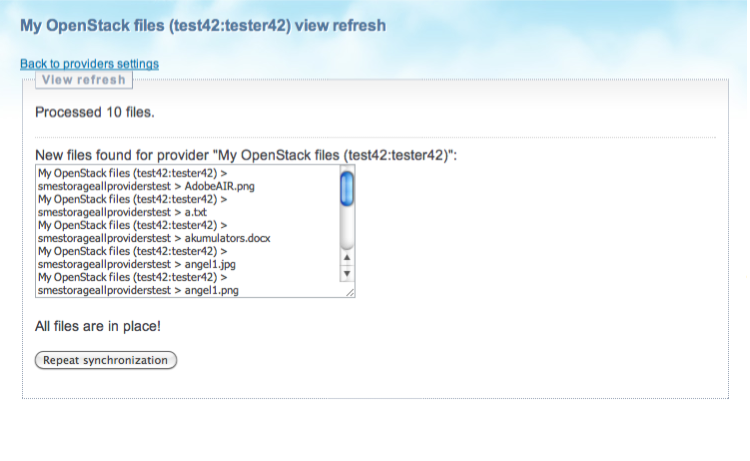
Once the meta-sync has completed you will be able to work with your files with the web file managers or the other desktop or mobile clients.
5 Step 5: Working with your files
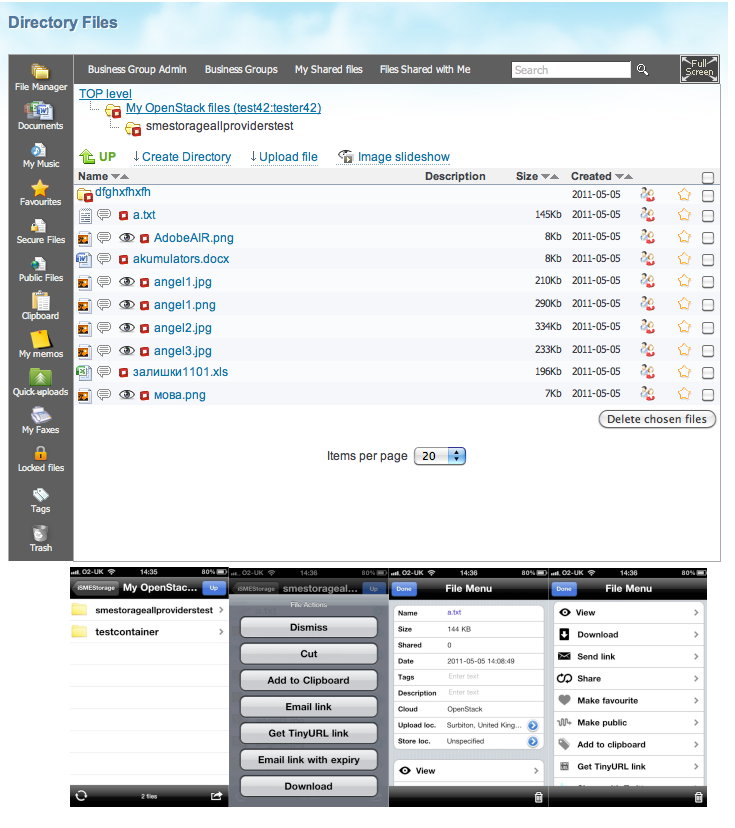
You can work with your OpenStack files or from any of the native mobile or desktop clients that Access Anywhere supports.
Rate Limiting
OpenStack Swift storage providers may limit the rate at which it processes requests. This page: Access Anywhere Handling of Rate-Limiting Storage Providers explains how Access Anywhere responds to rate limiting.