Windows Cloud Explorer
Cloud Drive is included with the Windows.
Cloud Dashboard
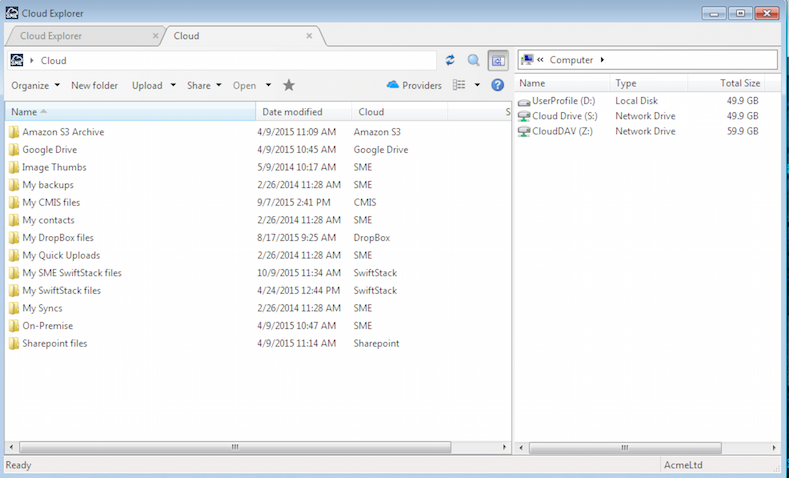
Double clicking the Cloud Files icon brings up the Cloud Files tab. Here the files and folders from the cloud storage providers that you have mapped to your account will be visible and can be manager using the toolbar at the top of the tab.
You can hover over the control and get a tooltip as to what they do. Two worth highlighting are the ability to favorite a file which enables frequently used files to be grouped and accessed from the main Dashboard view (and this works cross-clouds). The Cloud Clipboard is a place to put files.
Most are self-explanatory and we'll look at some of these in more detail.
Upload/Downloading files

Files can be uploaded/downloaded directly from the Cloud Files view in the Dashboard , or you can drag files from the desktop or Windows Explorer directly onto this view to have the files upload.
Any files uploaded within any of the Storage Provider folders (ie. "My Amazon S3 files", "My RackSpace files" etc) will automatically be uploaded to those clouds, no matter what you have the default storage provider set to.
If MS Office or Libre Office files are opened and edited directly from the Cloud Explorer, on save, they will be automatically saved back to the cloud storage.
Sharing files
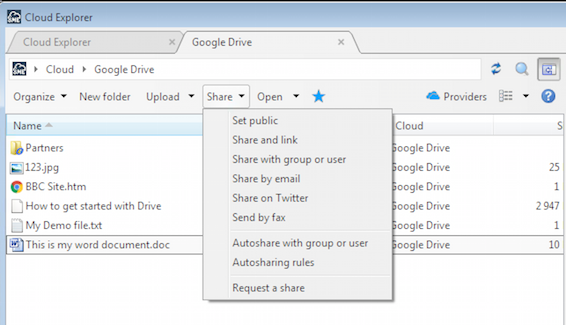
Files can be securely shared by selecting the sharing action when a file is highlighted or by right clicking and selecting to share the file. Please note that if a policy is set then details such as time expiry or whether a password is needed may be preset.
Right click Options
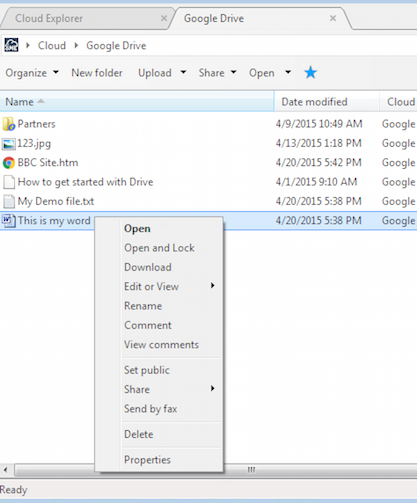
You can also see properties for files in the Cloud Files view of the Dashboard by right clicking. This is a quick way to be able to invoke an action for a file.
Files Explorer: Obtaining a file URL link
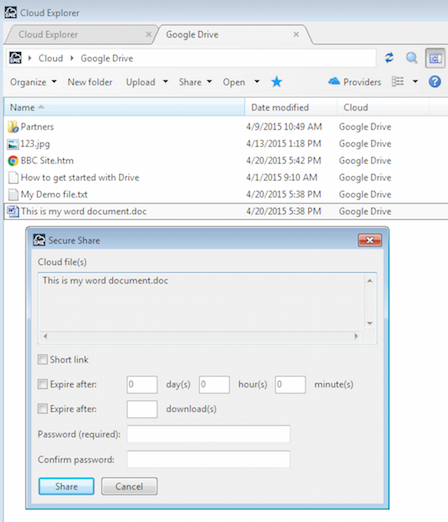
You can obtain a file URL to securely share by either right clicking on a file in the Cloud Files view, and choosing to obtain a URL or selecting a file and using the sharing icon to choose the option to obtain a URL.
If a file policy is set by a team administrator then time expiry may be preset and a password may be required.
Sharing a file with a Business Group
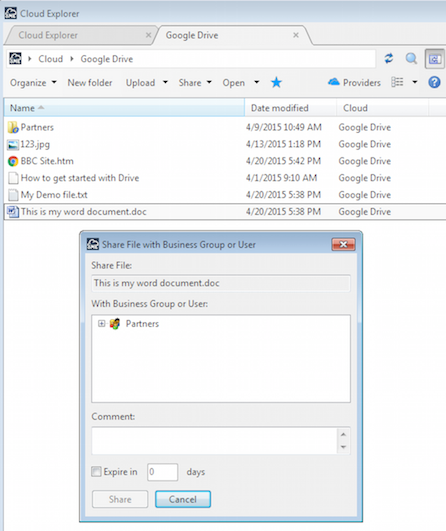
Business Groups are one of the collaboration features of hat works with Individual Accounts as well as with Organization Accounts.
The basic premise is that users can create a Group and invite users to it. This is very easy to do as outlined further down this post. Any file content that group creators then share with the Group will be shared with all members of the group. Group members will receive an automated email message letting them know that a new file has been shared with them.
Group Creators can also choose to allow other users to share files with the group, or decide whether to let group members be visible to each other (These last two options are only available when setting up groups).
So what are groups useful for ? Well we polled some of our users to see what they were using them for and we found some interesting uses. One of our users is using Groups as a way to keep his sales partners updated with corporate product collateral and technical documentation. He has formed what he calls a content sharing network. Another of our users is in a band and after doing some live recording he tweaks the results in Garage Band and shares them with his bandmates.
The key to business groups is that they let you share content with external parties, or let them share content with you and you can create and manage the either from the web, Windows Cloud Dashboard, or directly from your mobile client.
Managed file sharing over email
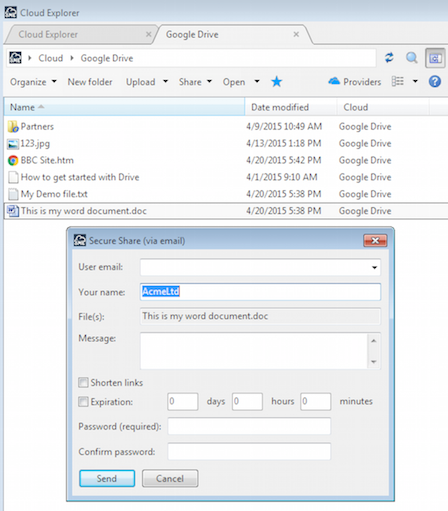
You can share a file over email from the Cloud DashBoard by either right clicking on a file in the Cloud Files view, and choosing to share over email or selecting a file and using the sharing icon to choose the option to share a file over email.
If a file policy is set by a team administrator then time expiry may be preset and a password may be required.
File Properties
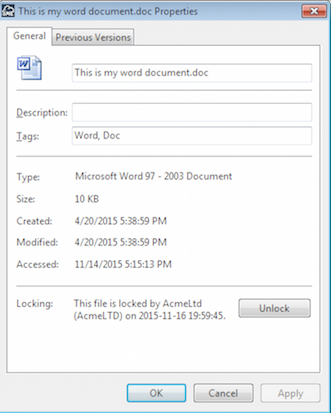
Right clicking and choosing 'file properties' in the 'Cloud Files view' from the Cloud DashBoard. This will show meta information about the file. It also show whether the file is locked. Locking a file means that it cannot be accessed until it is unlocked. This is useful for when you are editing a file and do not want to make it available.
Previous cloud file versions can also be accessed and managed here.
Cloud Files Search
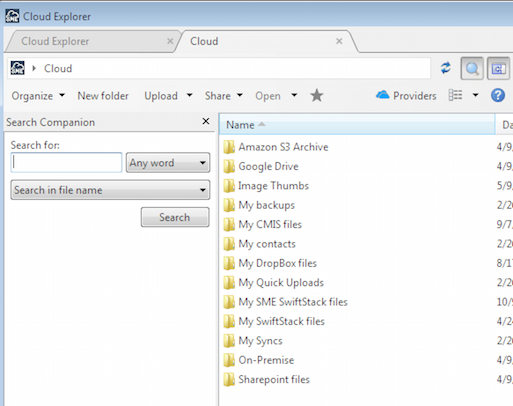
Hitting the Search button, or clicking search from the front of the cloud Dashboard enables you to search for files across all Clouds that you have mapped to your account.
Managing your Clouds
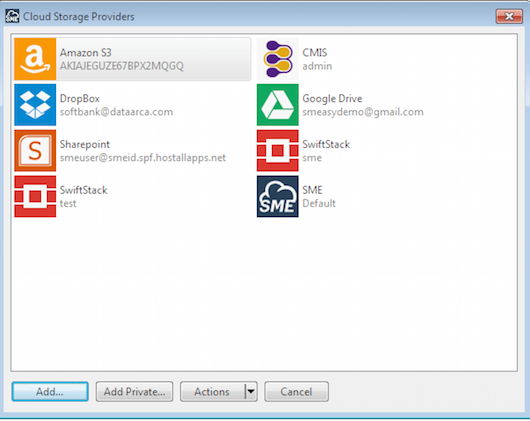
You can manage your Clouds by clicking on the Cloud Management icon either form the Cloud Files toolbar or from the main page of the DashBoard.
From here you can resync your cloud meta-data with the server. Why would you want to do this ? If you have uploaded files to your storage providers outside of our Gateway, you won't be able to see the files in the virtual cloud file system until you have refreshed the view in this way.
From here you can also set your default cloud, storage provider which is the provider used when uploading to root folders such as My Syncs, My Documents etc.
These folder are actually created and used within the default provider when you upload. So for example, if you upload a file to 'My Documents' in the root of the platform and your default provider is set to Google Docs, a folder called 'My Documents' will be created in Google Docs and the file will be uploaded there.
These folders are just root level mappings of common folders to make it easier to access commonly used groups of files.
Managing Amazon S3 and Rackpace
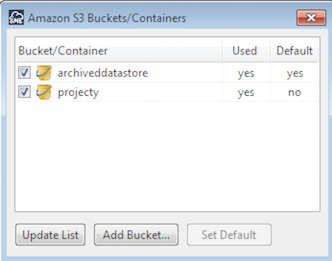
Amazon, RackSpace, OpenStack, and other Object Storage clouds have extra options which enable you to decide which buckets / containers are used within your file manager view, and also enables you to created new buckets / containers.