File Sharing - Shared Links
This page describes sharing files and folders through the File Manager web application. Files and folders can also be shared through the Windows and Mac desktop applications.
Nasuni Access Anywhere allows users to share files or folders with internal and external users securely. Share links can be created with specific settings that enable authentication, expiration, and editing capabilities. When a user clicks a link, depending on its settings, they may be asked to log in, provide a verification code, or simply be able to view or download a file from their browser. When a recipient receives a link, the file or folder displays under their Sharedwithme folder.
Permalinks
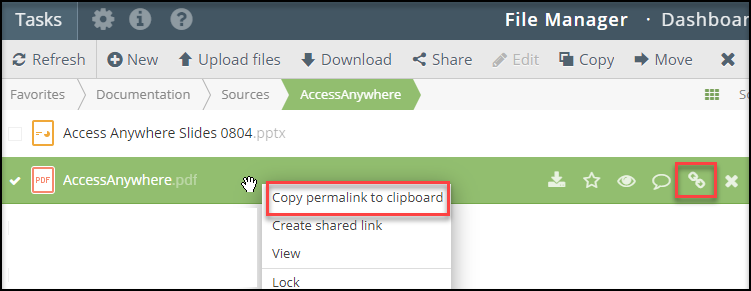
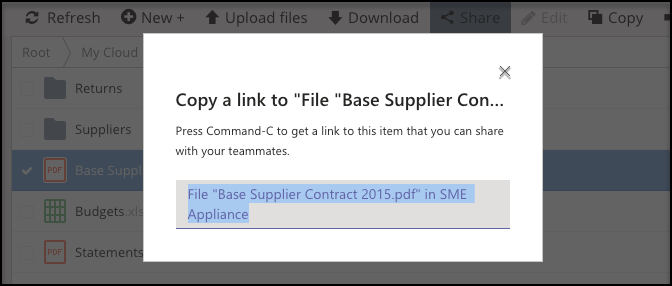
If another user has access to the same file or folder, you can send them a permalink (permanent link). Permalinks direct a logged-in user to a specific folder or file within the File Manager. To copy a permalink, right-click over a file and select Copy permalink to your clipboard.
Share with a Microsoft Team
The Share to Team feature for Microsoft Teams allows permalinks to be posted to Microsoft Teams directly from the File Manager. When a permalink is clicked, the web application opens, highlighting the file or folder.
Note: This feature requires an Access Anywhere login.
To share a file with a Microsoft Team, follow these steps.
1 - Locate the file you want to share and click the selector box next to it.
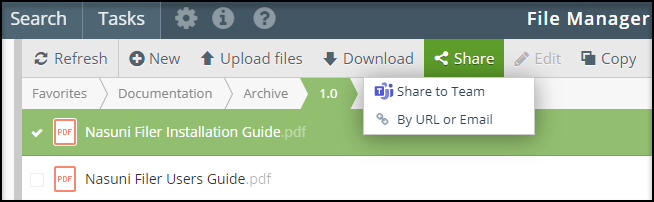
2 - Click Share, followed by Share to Team.
3 - Sign into Microsoft Teams.
4 - Under the Share to field, specify the MS Teams members that can access the file.
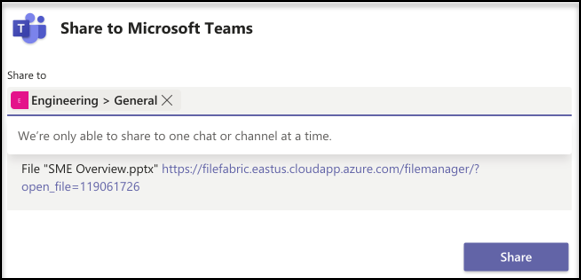
5 - Click Share.
Shared Links
Sharing Files and Folders
To share a file or folder by URL or email with specific people, follow these steps.
-
Locate the file or files you want to share and click the selector box next to each file. Alternatively, select a folder from the list on the left navigation tree.
-
Click Share, followed by By URL or Email.
-
Choose who can access the file or folder and your link security preferences using the following fields and options.
Note: Security features denoted with a triangle and exclamation point are flagged as mandatory by your organization.
a. Who can access: Specify the email address or username for the link recipient. Alternatively, select Any logged in user to allow anyone in your organization or a registered external user access. Lastly, you can leave the field black to allow anyone access unless other security restrictions exist.
b. Invite new external user to share with: To invite external users, click the button and enter their email addresses. For more information, see External Users.
c. Require verification code for guests: If you entered a recipient in the Who can access field outside your organization, use this option to require a verification code. A new numeric code will be sent to their email address each time they use the share link.
d. Automatically expire in: To create an expiration date on your secured link, click Set expiration and use the day and time fields to set the expiration. That limit is enforced here if your organization has a maximum link lifespan.
e. Download limit: Set the maximum number of times the link may be used across all users.
f. Password: Click the circular arrow icon in the Password field to create a password automatically. For more information on passwords, see Passwords and Verification Codes.
g. Send email notification when file is downloaded: Click the box to enable.
- Click Next. The Delivery tab options display.
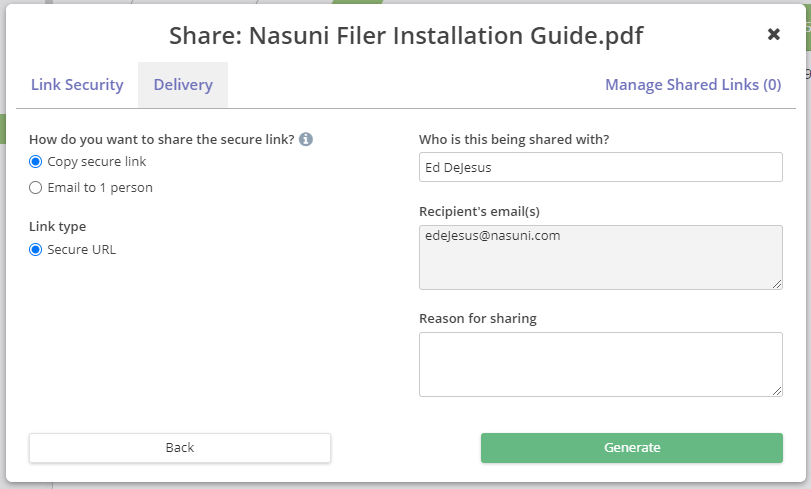 5. Using the Delivery tab, choose how you want to send the link. The link can be generated and copied to distribute or emailed to the users specified on the Link Security tab.
a. If copying the secure link: Click Copy secure link, followed by Generate.
b. If emailing the secure link: Click Email to (recipients), followed by Share.
- If you chose the Copy secure link option: Copy the link and password and distribute it to your recipients. Alternatively, if you chose the Email to (recipients) option, the URL was sent to their email addresses.
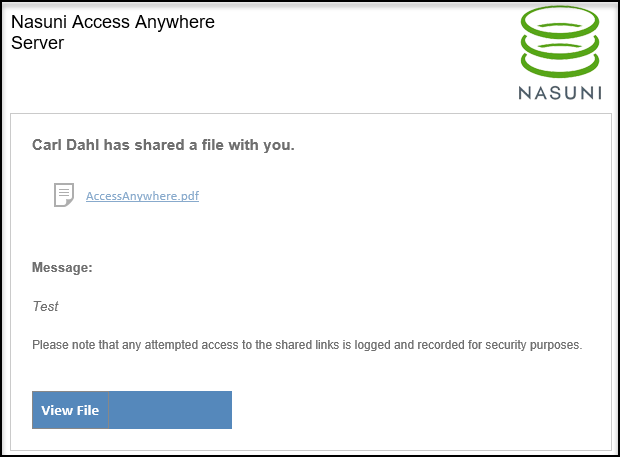
The following image is an example of what an email recipient receives.
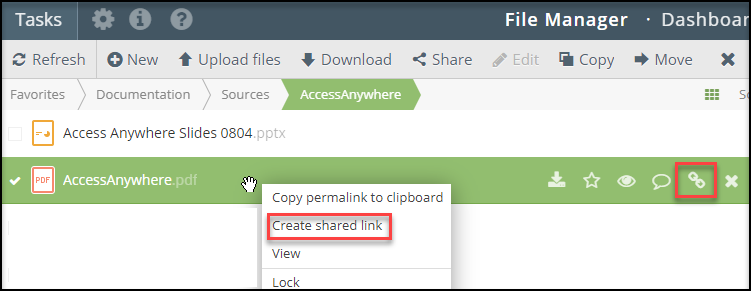
Alternatively, you can begin the link creation process from a file’s in-line options or by right-clicking a file.
For more information, see MS Teams - Share to Teams.
Quick Sharing
Quick sharing allows users to create share links with one click. Quick sharing is supported for files (not folders) when there are no security policies on sharing that require entering additional information such as a password.
Access quick sharing from the file context menu or the link icon in the file list view.

MS Teams Shared Folders
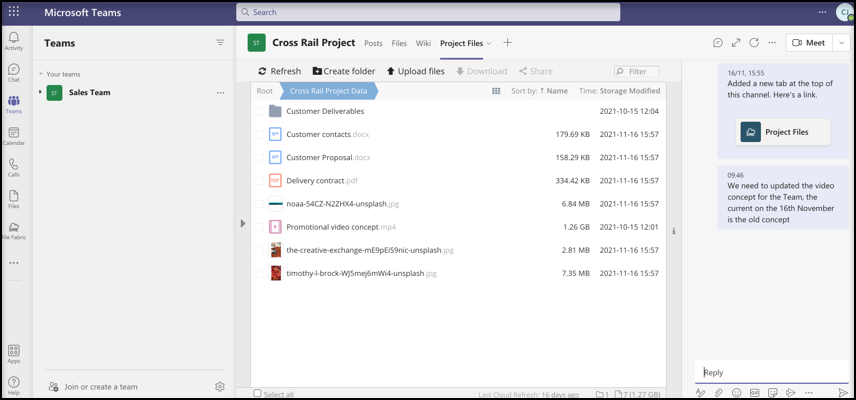
A folder can be added to a Microsoft Teams channel or chat as a tab. This folder becomes a collaboration space using your own storage. Any user with access to the Team channel or chat can access the shared folder without additional authentication.
To create an MS Teams shared folder, follow these steps.
- From the left navigation tree, select a folder. To select multiple folders, hold ctrl while selecting the folders.
- Click Share, followed by Create MS Teams shared folder.
- Under Restrictions, choose your preferences.
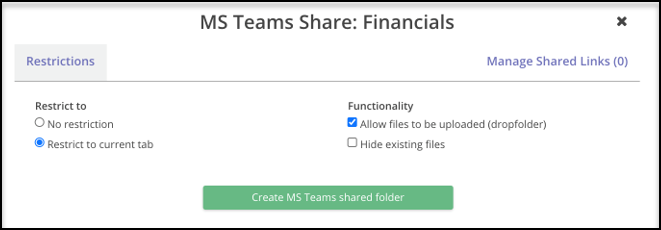 a. Restrict to current tab: Only allows the sharing code to be used in the channel from where it was created.
b. Allow files to be uploaded (drop folder): Allows files to be changed and added by members and guests.
c. Hide existing files: Available when “Allow files to be uploaded” is enabled. Users can only upload files.
d. Manage share links: Lists existing shared links and allows them to be deleted.
a. Restrict to current tab: Only allows the sharing code to be used in the channel from where it was created.
b. Allow files to be uploaded (drop folder): Allows files to be changed and added by members and guests.
c. Hide existing files: Available when “Allow files to be uploaded” is enabled. Users can only upload files.
d. Manage share links: Lists existing shared links and allows them to be deleted. - Click Create MS Teams shared folder.
- Click Copy preconfigured sharing code.
- Navigate to the MS Teams application, and click the Using a preconfigured sharing code tab.
- Paste the sharing code.
Deep Links
Access Anywhere supports generating special Teams deep links that can be copied into a channel's conversation stream. Clicking these links directs users to the installed tab and the open file or folder.
To use a deep link, follow these steps.
- Select a file or folder.
- Click Share, followed by either Share file link for Team or Share folder for Team, depending on whether you share a file or folder.
- Microsoft Teams displays a dialog box with a unique deep link ready to copy. Copy it using Ctrl+C / CMD+C.
- Navigate to the Posts tab of the channel and paste this link into the chat.
Note: Only post deep links in a channel with the tab installed. The link may not work for accessing the file or folder from other channels.
Managing Shared Links
After a file or folder has been shared via the secure link, it displays in the Managed Shared Links tab. Use this tab to view link security features and manage settings.
To manage link properties, follow these steps.
- Select a folder from the left navigation tree.
- Click the box located next to the file you previously sent.
- Click Share, followed by By URL or Email.
- Click the Managed Shared Links tab.
- Once in the Managed Shared Links dialog box, you are provided the following information and options:
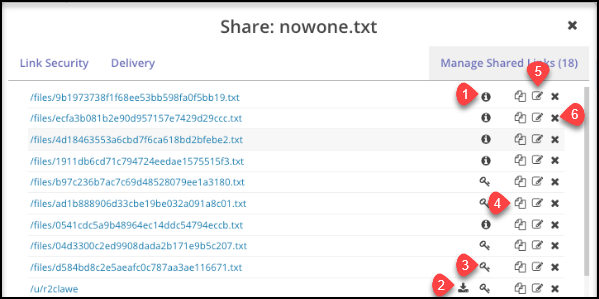
a. (1) Information: Hover over this icon to view recipient information.
b. (2) Download: Hover over this icon to view the limit and the download count.
c. (3) Key: Indicates that the link is password protected.
d. (4) Copy: Click to copy the link and share it with additional recipients.
e. (5) Edit: Click to change the days to expiration, download limit, or password. Click Update to save your changes.
Note: A password can be added if the link does not have a set password and a verification code has not been enabled. If a link already has a set password, it cannot be changed.
f. (6) Delete: Click to delete the link and make it no longer accessible to the recipients.